Sunday, July 4, 2010

{a dash of color: my living room}

I’m so monochromatic! I always find myself using neutrals, grey, and white in my own spaces even though I am drawn to lovely punches of color in other people’s rooms! So I thought is was high-time I get myself out of my 'boring-in-beige' box and throw a dash of color into my living room, the space I inhabit most often. You might have taken a peek at this room when I posted about making over my living room with paint, so here is the space now, with a lovely shade of turquoise added in:


It all started with this cute little artichoke-inspired vase, what a perfect shade of turquoise! And at only $12 {from HomeSense}, I had to buy a pair!


Then came my sweet little side chair, isn’t she pretty?


The turquoise floral pattern on this chair changes during the day depending on the lighting, look how punchy it is in the evening:


Mix in some Moorish tile pillows, and 2 side lamps with turquoise shades, and I’ve added color to my room without breaking the bank! Just a few accents and the whole space reads in a totally different way.


And I chose lamps with a white base rather than lamps with a turquoise base so that when I inevitably change up my color scheme, I’ll just pop off the shades, and voila! A new life! I’m thinking they would also look great with a black shade and white piping…uh oh, that’s my monochromatic-self trying to come through again … ha, ha. But seriously, I am thrilled to finally be surrounded by this lovely dash of color!


Don’t forget to enter your name in to win a $50 Gift Certificate to CSN Stores by clicking here!

Sunday, May 30, 2010

{my dining table}

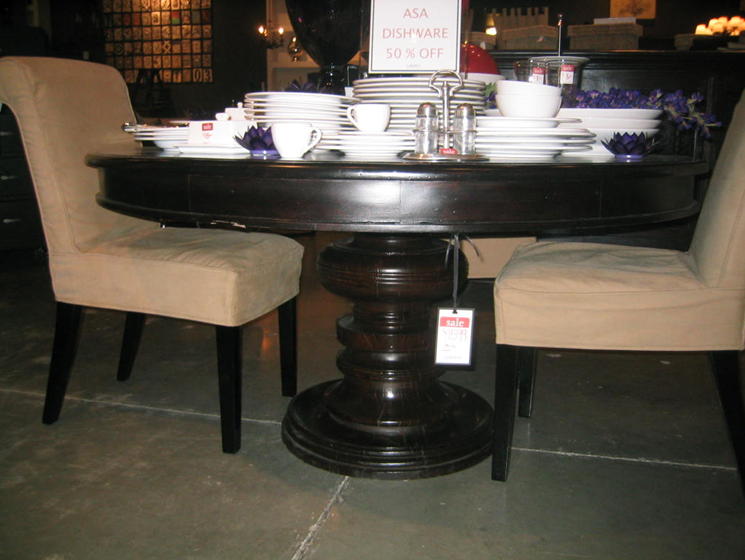
I am so exciting about a recent addition to my dining room décor! Almost 3 years after moving in, I finally have a dining room table and I love it! I was on the hunt for a small sized round table (as my dining room is not that large), in a dark wood, and with a nice meaty base, here’s an example of a table I had been eyeing from Liberty:


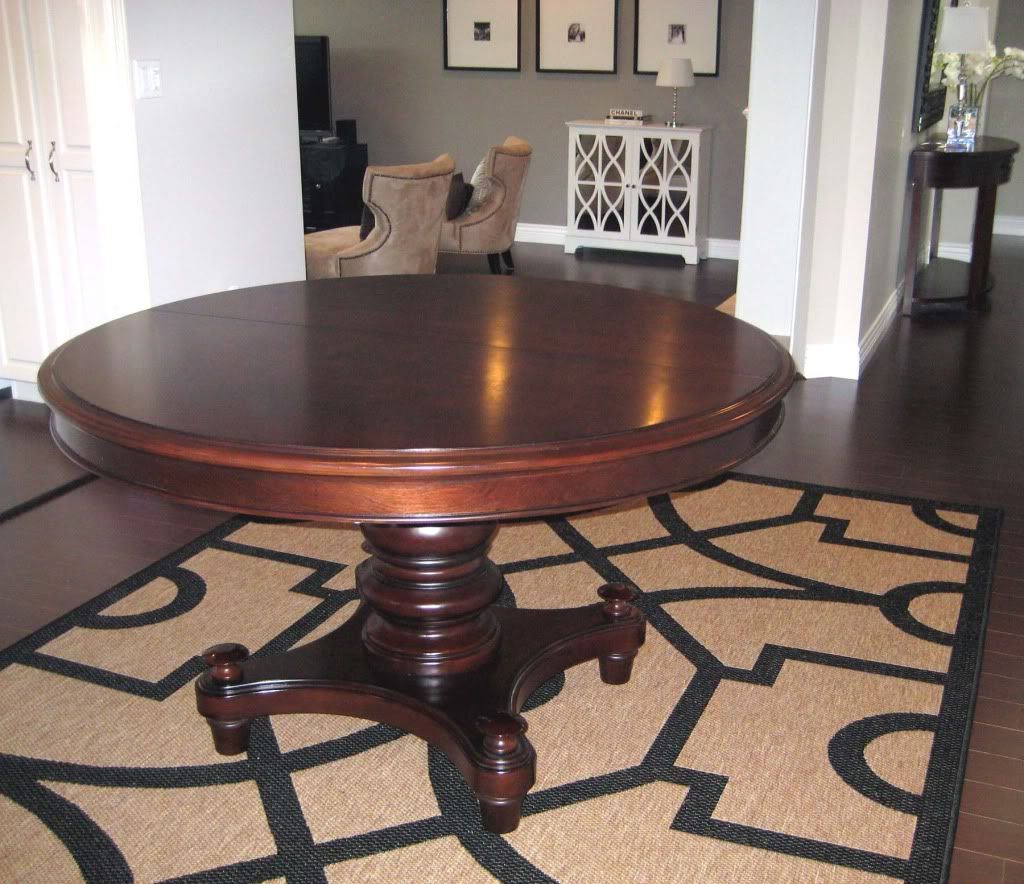
This table was a bit out of my price range so I had to be patient! A couple of years later, this amazing table with similar styling popped up for literally less than 1/3 the price of the one that I had been coveting! Such a great deal…so I say it pays to be patient!! This table is from Sears, and it comes with a leaf to make it a larger oval shape when needed (bonus!):


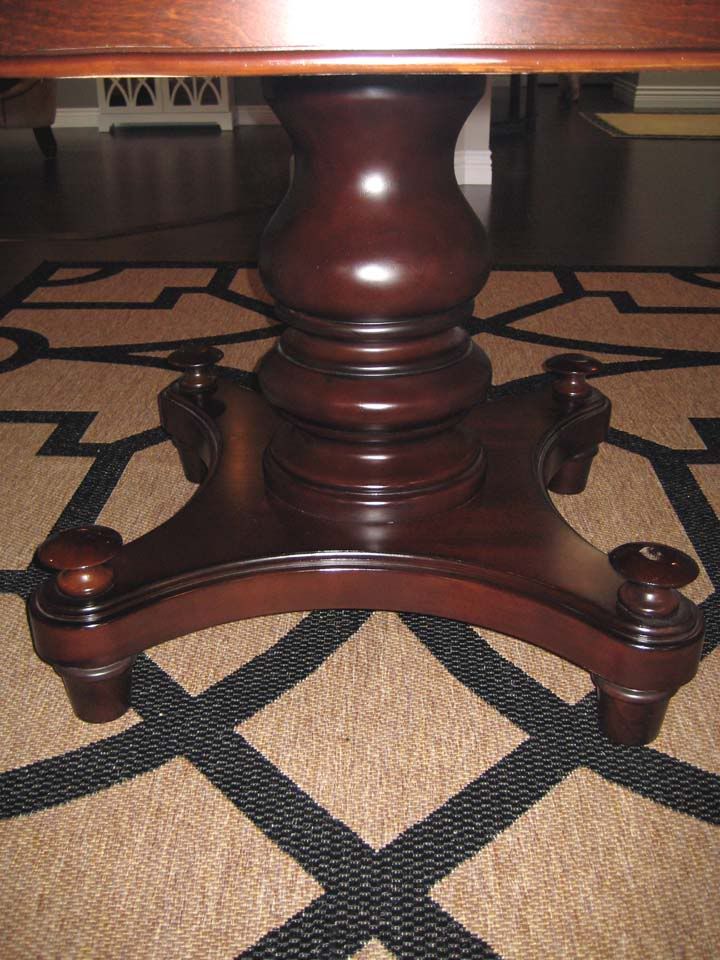
And just look at the pretty base!


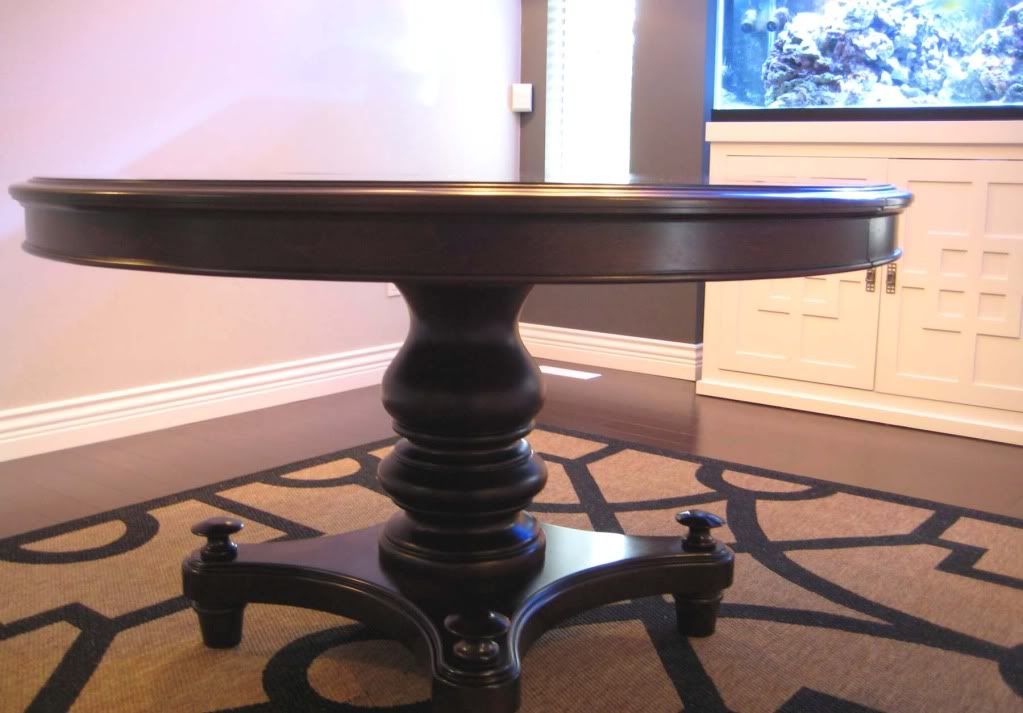
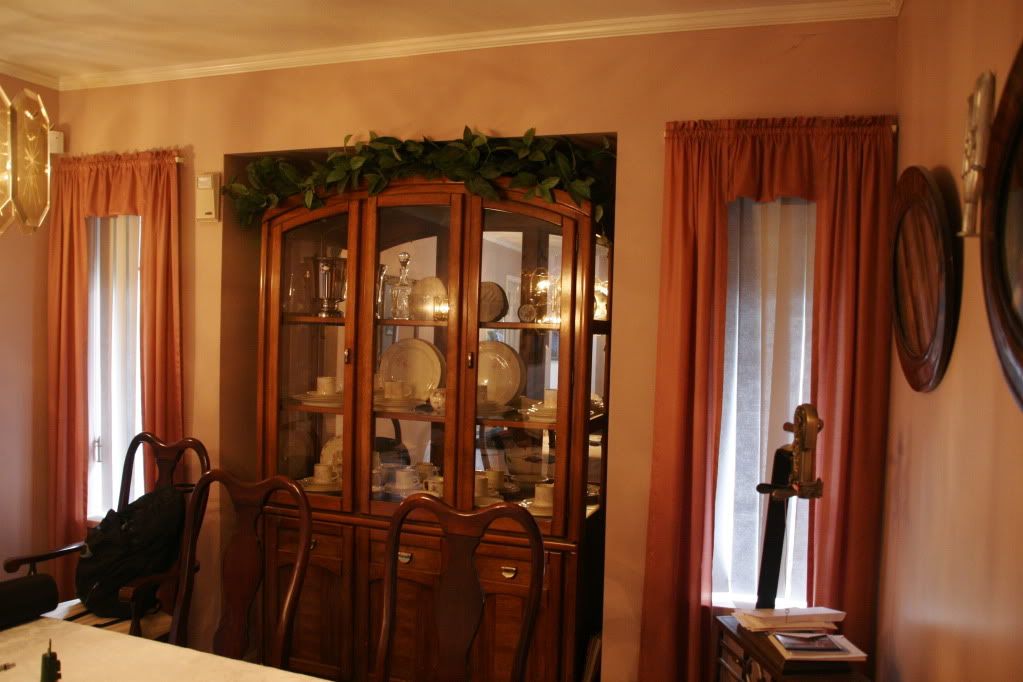
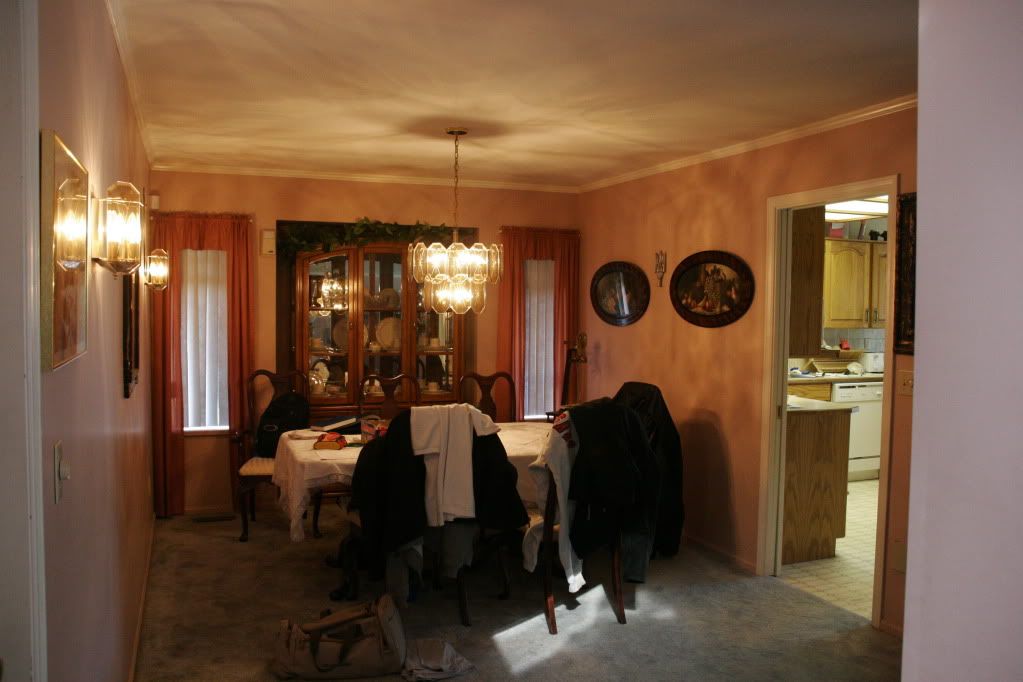
There in the background is our DIY aquarium that I posted about here, and just for fun, (and because everyone loves a good before and after!) here are a couple of before photos of the dining room before we purchased our home:


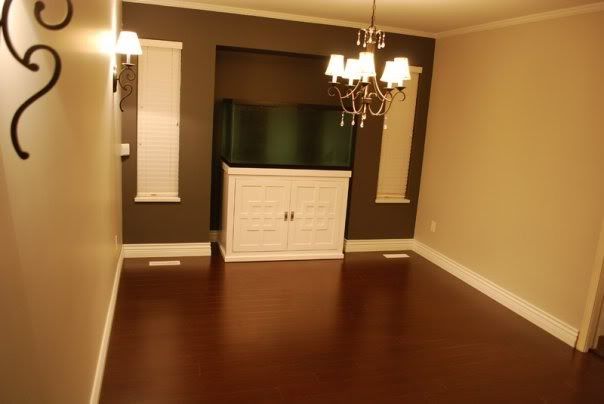
And now, aaahhh....much better:


We changed the flooring, painted, changed up the light fixtures, added baseboards and of course got rid of those crazy window treatments!


Here’s my little fur baby trying to get in on the picture taking action:


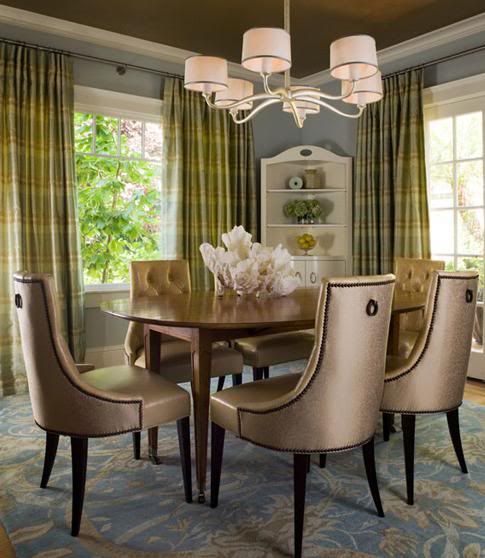
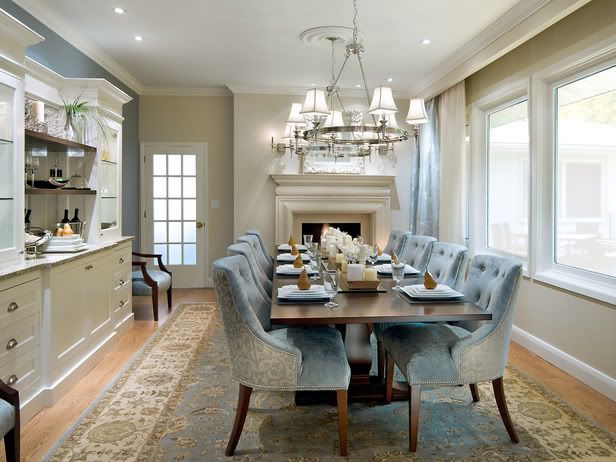
You can see we still have tons to do in here. I have so many plans in my head, but one slow step at a time. I can’t wait to reveal a fully finished dining room to you! Now I need dining chairs, and again I am on the hunt for a specific style, and trying really hard to be patient. Here are some dining rooms with the shape I am lovin’ right now:


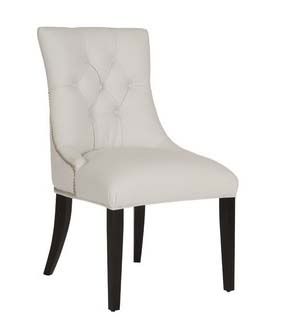
The chair I am coveting most:


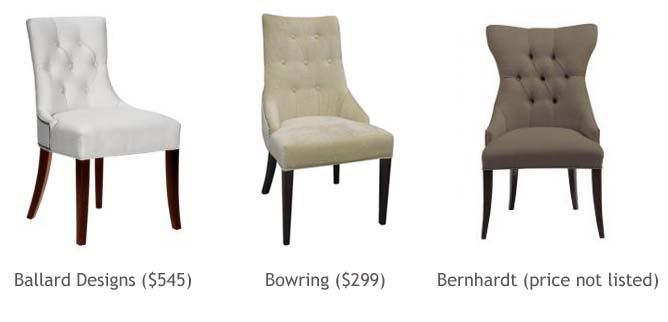
So yummy right?? The exact chair pictured above is the one I am lusting over, and it is not quite in my budget ($800 and up each, Liberty). There are several comparables, but I am waiting for a better deal to pop up! Here’s what I have found so far:

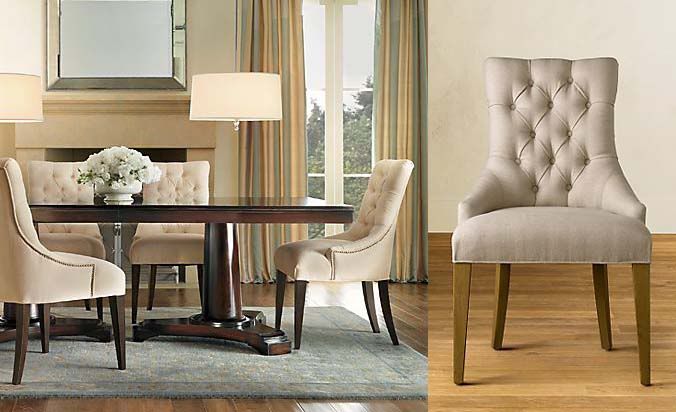
Restoration Hardware's Martine Chair ($349 and up)


Even Costco is carrying a chair in this lovely shape (and at a very reasonable price, $379 for 2) but if only there were fabric options!!!! Darn! I am dreaming of a velvety charcoal grey.


Has any one come across any similar chairs out there?? Well, for now, I am one step closer to a completed dining room with my yummy new table! Thanks for taking a peek! I'll be linking this post to Metamorphosis Monday's over at Between Naps on the Porch, be sure to head over there for some amazing before and afters!

Saturday, April 24, 2010

{before & after: curb appeal}

Spring is in full swing! This often brings our attention back to our outdoor spaces and gardens. Last year my husband and I did a re-vamp of our front lawn to improve our home’s curb appeal. All the reno’s we have been doing in our home thus far have been carefully selected to get the most bang for our buck when it comes time to sell, and I think a home’s first impression should always be way up on that list! Here’s an idea of how the front landscaping looked when we first bought the home:


The front garden left a lot to be desired… the plants were looking a little bushy, and we were constantly at war with a plethora of weeds! We decided to rip everything out and start from scratch:


The first thing that we had done was some decorative curbing to define the space:


Both my husband and I are not quite gardeners per se, so in order to minimize our on-going battle with weeds, we opted for a heavy-duty liner topped with large-sized river rocks. It’s been working great so far! So here is how it all turned out:


We did a few other things including replacing the worn roof. As well we did a quick and inexpensive upgrade by changing the light fixtures in front of the house, the new ones were from Home Depot. Good-bye 1986, hellooo 2010!


We chose plants with some structure to them, a Pom Pom Juniper (I call her our cheerleader!), a Japanese maple, and a hedge of boxwoods.


In a few years the boxwood hedge should fill out and will then be trimmed squarely together.

Here you can see a close up of the stamp and coloring we chose for the curbing. We pulled some of the coloring out of the brick in the front.


In the spring, we get a nice little touch of color, so pretty:


Since spring has arrived, it has been so much fun to watch things grow. And the best part of all is how low maintenance the landscaping has become. I’m hoping we’ll get a return on our investment in the future! I'll be linking this post to "Metamorphosis Monday's" over at Between Naps on the Porch. Be sure to pop over there to see tons of great before & afters!! I will also be participating in the "Bring In The Spring!" party over at Posh Pieces, you can head over there for some serious spring inspirations!


Friday, March 19, 2010

{the power of paint}

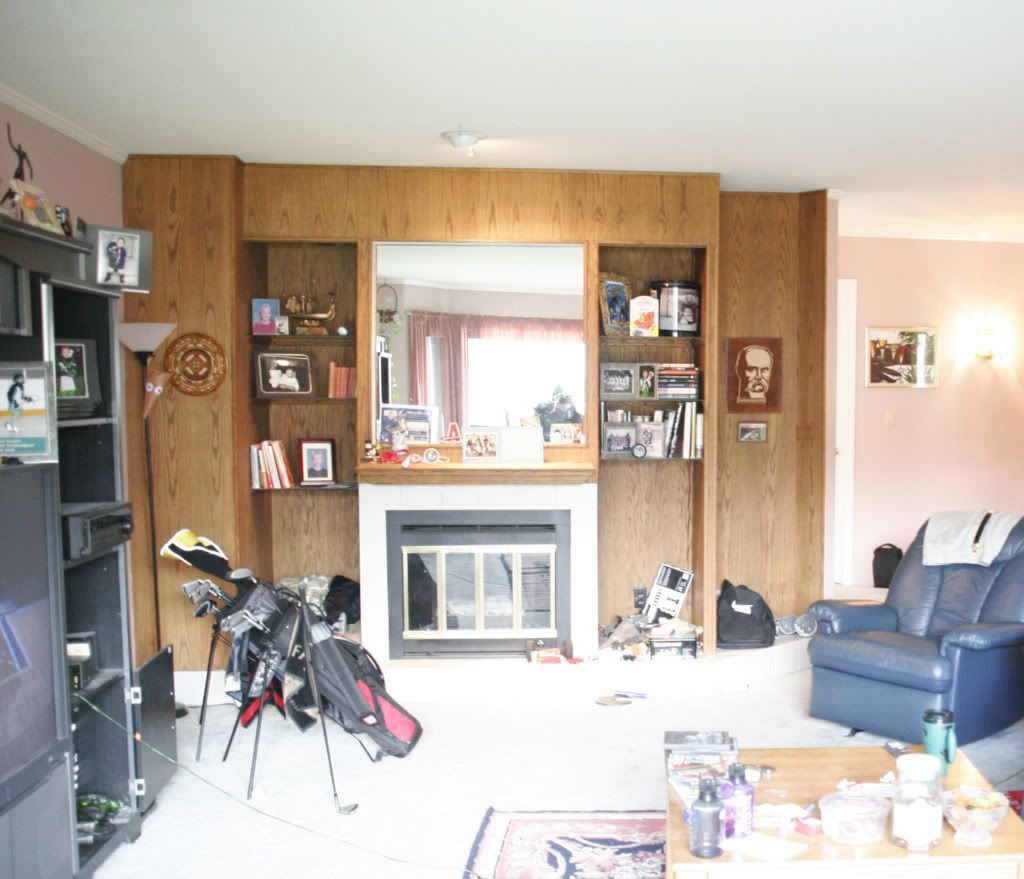
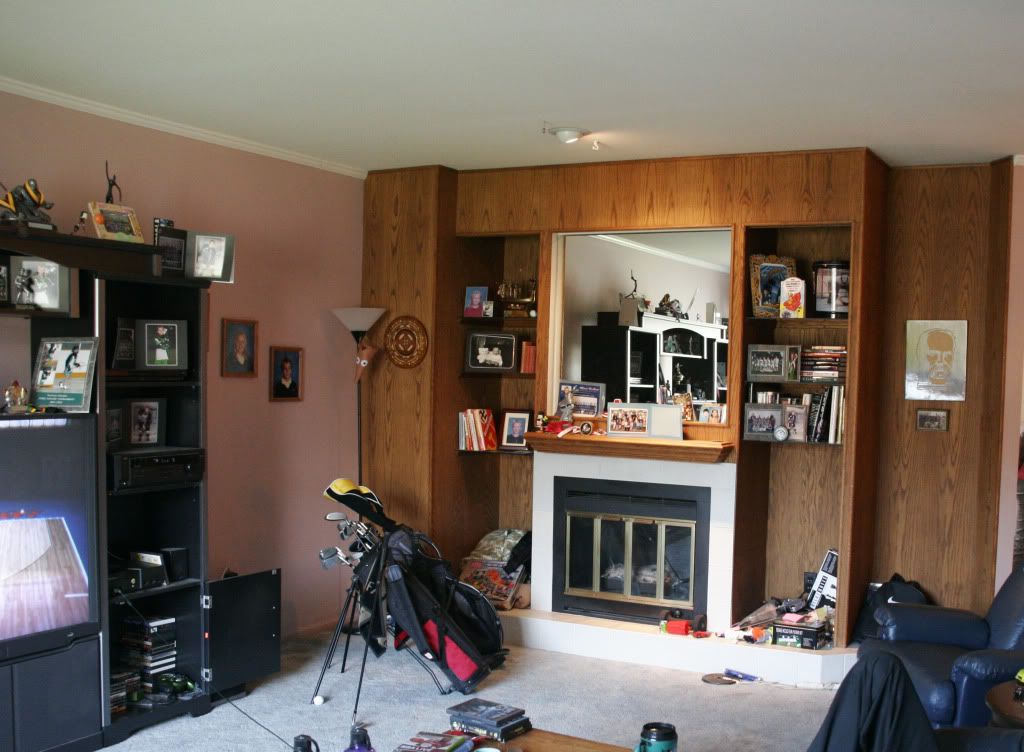
We have a large built-in shelving unit in our family room that was quite a scary sight when we first bought our home. The unit was a dark and dingy wood, the shelves were glass, there was blue carpet (YES carpet) on the bottom shelves, and it was overall not a good look. Here are pics before we purchased our house (keep in mind the clutter in these photos is from the previous home-owners!):


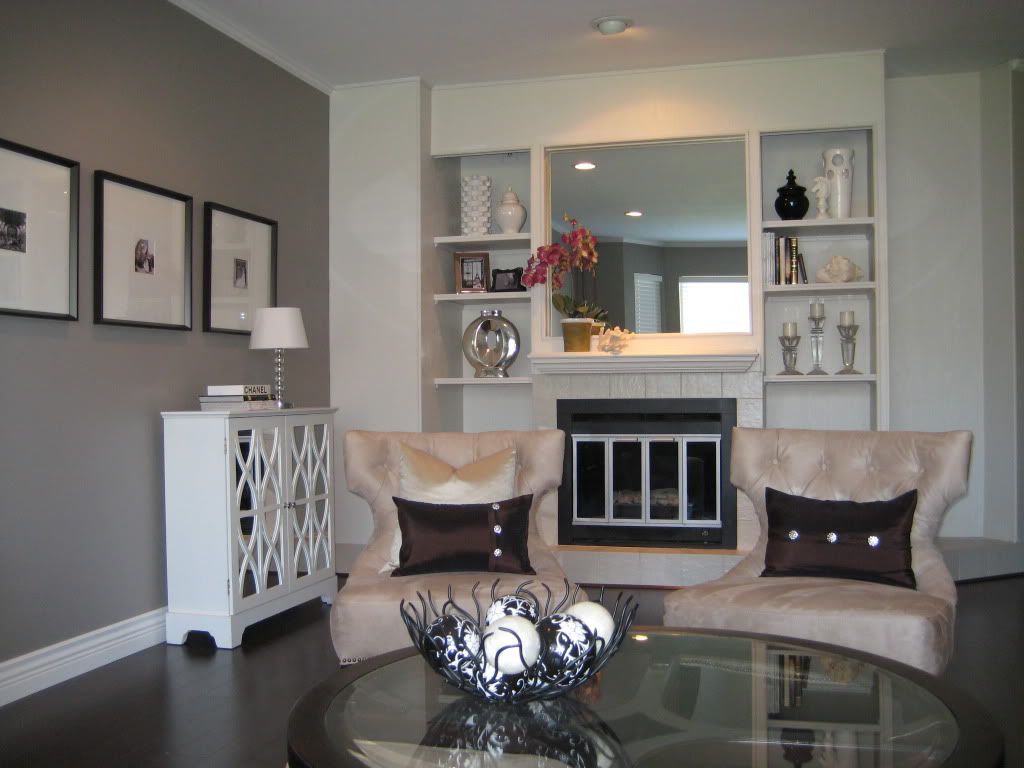
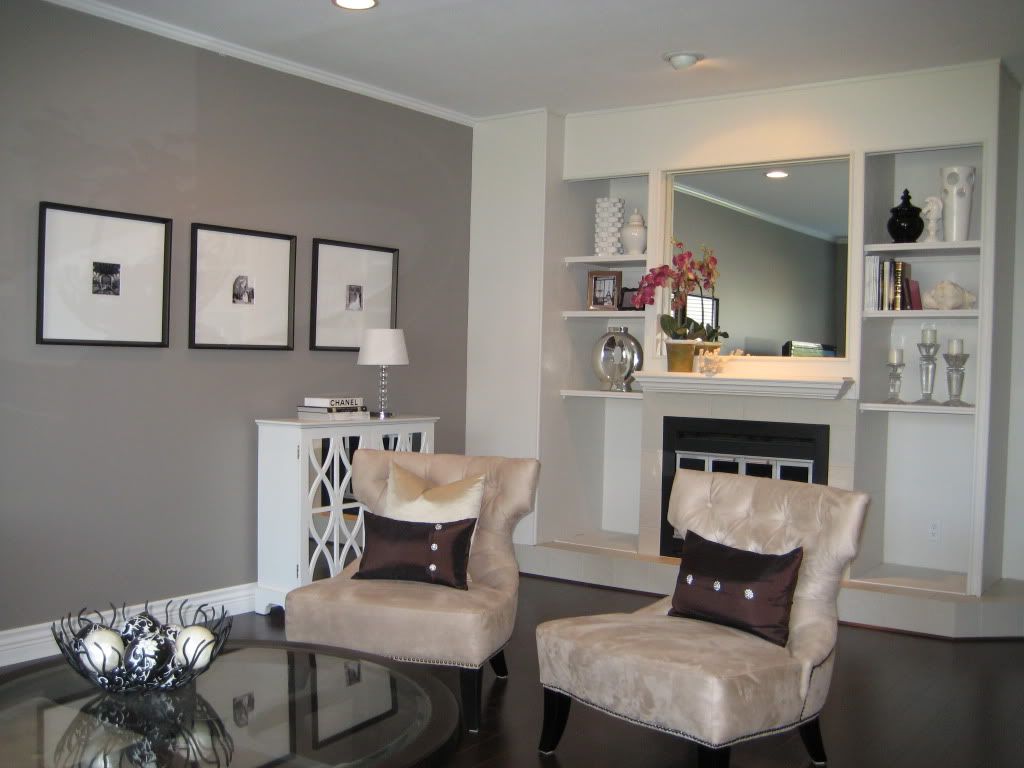
We did not want to spend money on this, we originally contemplated knocking down the unit, but moving or losing the fireplace was just not worth it. And I still saw potential in what was there. What was the most economical choice? Paint!! So we chose a warm white and my wonderful husband went for it!


We removed the glass shelves, had wood shelves cut and added a little trim detail (see below), which looks much more substantial.


We changed the flooring in the room, and of course added new furniture and accessories. The wall color is Benjamin Moore's Escarpment (a very moody and warm grey). We also spray painted the gold trim around the fireplace in a brushed silver for a quick and easy update!


Isn’t it great how much a simple and inexpensive solution like paint can make such a difference? I would love to hear about some of your projects where paint alone created an amazing transformation for you!

PS. Thank you to Julia from Hooked on Houses for featuring this post!! If you have not yet visited Hooked on Houses you need to check out her wonderful blog asap! She showcases celebrity homes, houses from movies, as well as amazing before and afters...and who doesn't love a great before and after? :)

Sunday, March 14, 2010

{building our aquarium}

My husband is a salt-water tank enthusiast and he has a minor obsession with tropical fish! So when he wanted to get a large fish tank for our home, I got a little worried. Why, you may ask? Well, I was not so sure that ready-made fish tank cabinets have come very far in the ‘design world’ in several years. In fact, most budget-friendly tanks you can buy are a bit of a blast from the past (hello 1970's!), and were not in keeping with the rest of our homes décor.

Yikes! While I am sure there are some incredible ‘designer’ fish tanks out there (built into the wall, etc), that kind of thing was not in our budget. So we had to get creative, and we decided to build one ourselves! This was a large undertaking, since the cabinet had to be able to handle a lot of weight, so we consulted a professional to help us build it and he did an amazing job: http://www.winchesterconstruction.ca/  Our starting point was to look at other similar pieces of furniture and gain inspiration into what we wanted this piece to look like. 


It might be hard to tell in the photos but we used an ultra-high gloss white paint (which would make wiping water spills easy and gave a more modern look). All of the front details were done with inexpensive strips of MDF. We found the hardware at Lee Valley Tools.


The tank now sits in our dinning room (which doesn’t have any other furniture yet as you can see! Still a work in progress).


We filled it with beautiful fish and it is so fun and relaxing to watch, I can’t wait to have a table in there to sit back and enjoy them!

Related Posts with Thumbnails
 

© 2010-2017 Nancy Marcus. All Rights Reserved. | Blog Design By Brittany Douglas