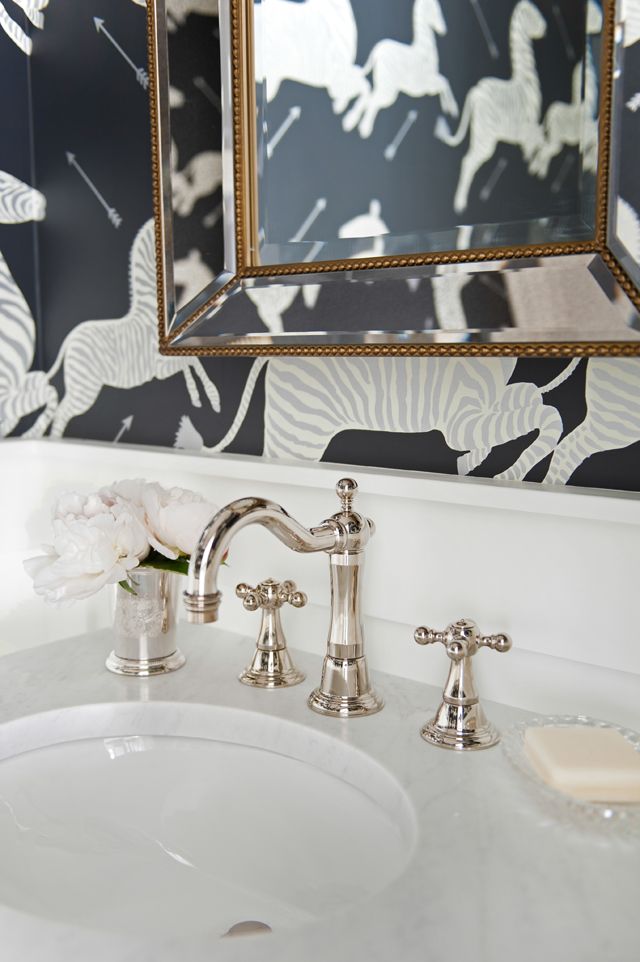
photo by Tracey Ayton Photography
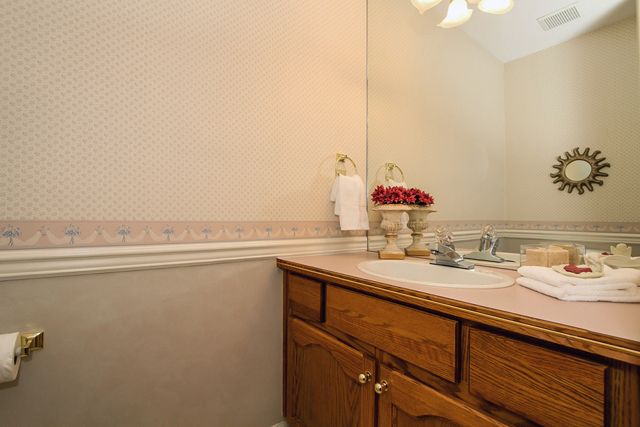
Today I have the chance to share the before and after of our little jewel-box powder room! This is a fun one for me personally because although this is a tiny space of very few square feet, I didn't have a powder room in my last home and so I really embraced the opportunity to go bold. We'll start with the before; here is an image from the real estate listing, you can see the (stubborn to remove) wallpaper that was in place since 1989. Red oak cabinet, wall-to-wall mirror & tulip-style builder basic light fixture were all original to the house.
(You can view part 1 and part 2 of the powder room reno with all the plans and inspiration along the way).
The mirror, vanity, linoleum flooring, and lighting were all removed:
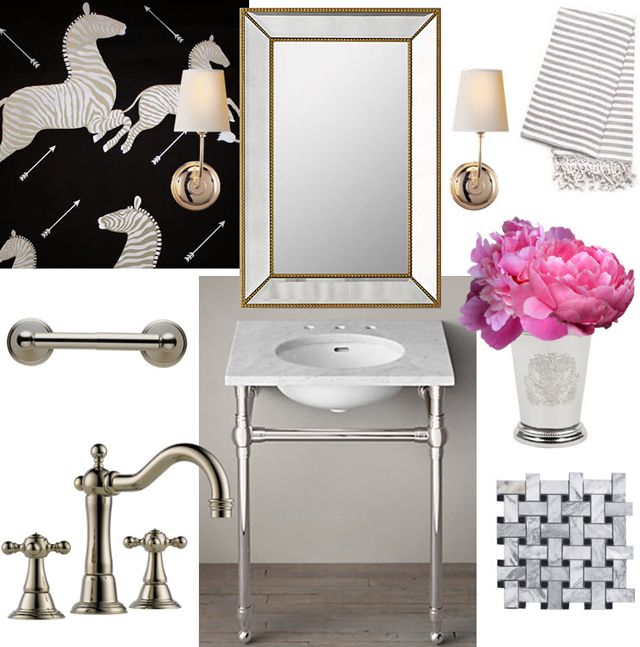
The only catch was (as you can see in my moodboard below) we selected a metal washstand that exposed the floor, but our water supply came up from the floor, so we had to get our plumber to moves those pipes into the wall before we could move forward installing our vanity. Often times, every step forward has 1-2 steps backwards before you can get to the pretty stuff!
Here's the complete list of sources I selected:
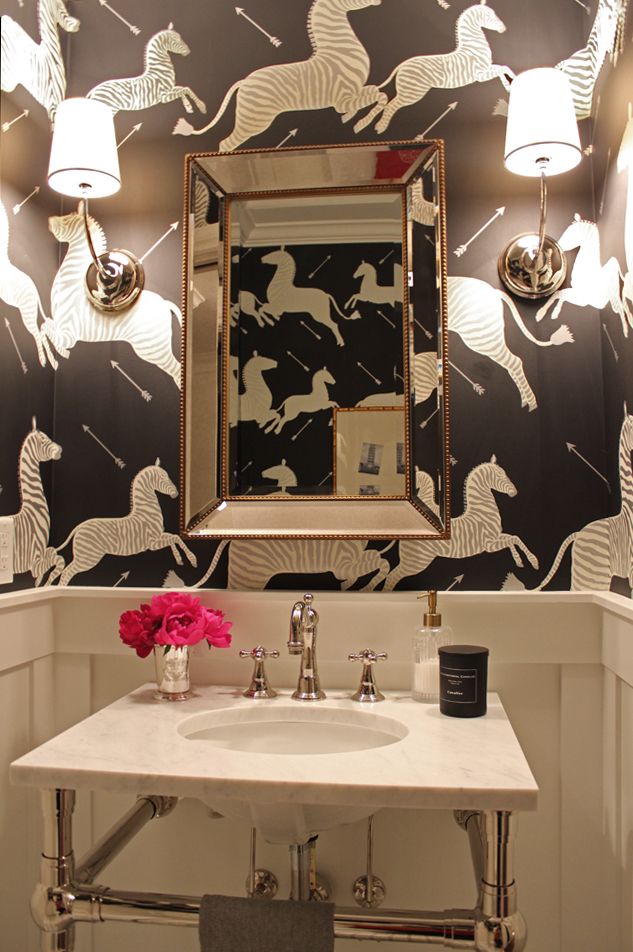
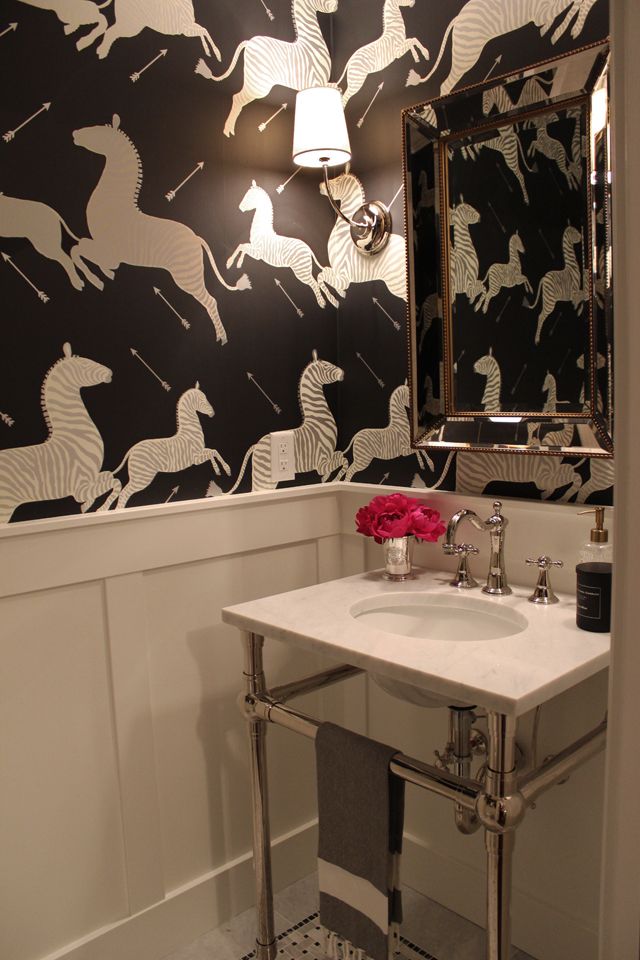
Scalamandre Zebras from DecoratorsBest | Vendome sconces from Circa Lighting | Tresa Lavatory Faucet from Brizo | Toilet tissue holder from Brizo | Silver julep cup from Enchanted Home | Beaded mirror from RH | Gramercy powder room washstand from RH | Marble basketweave tile from Julian Tile
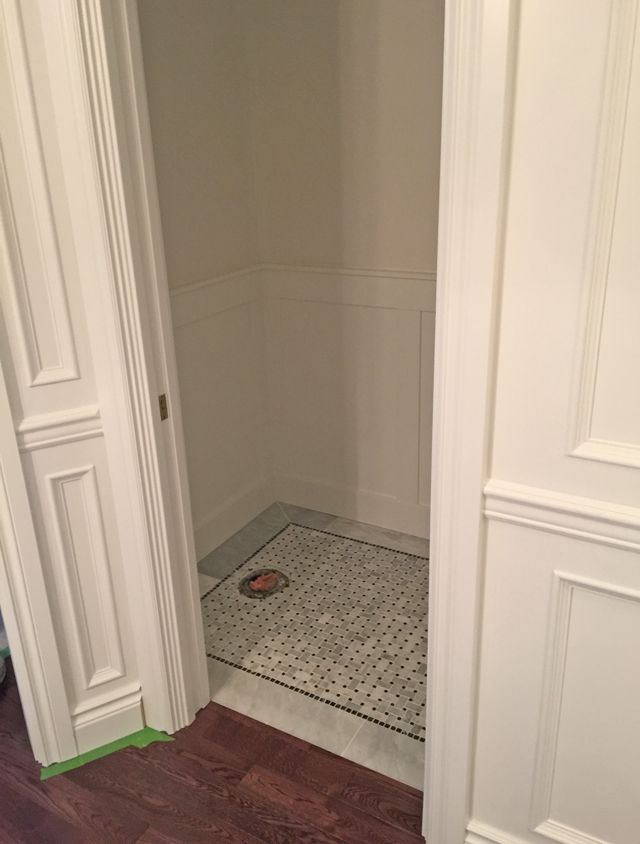
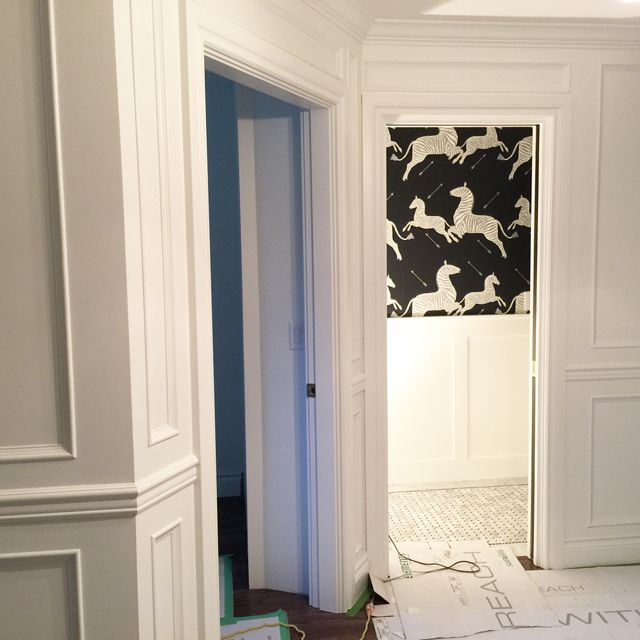
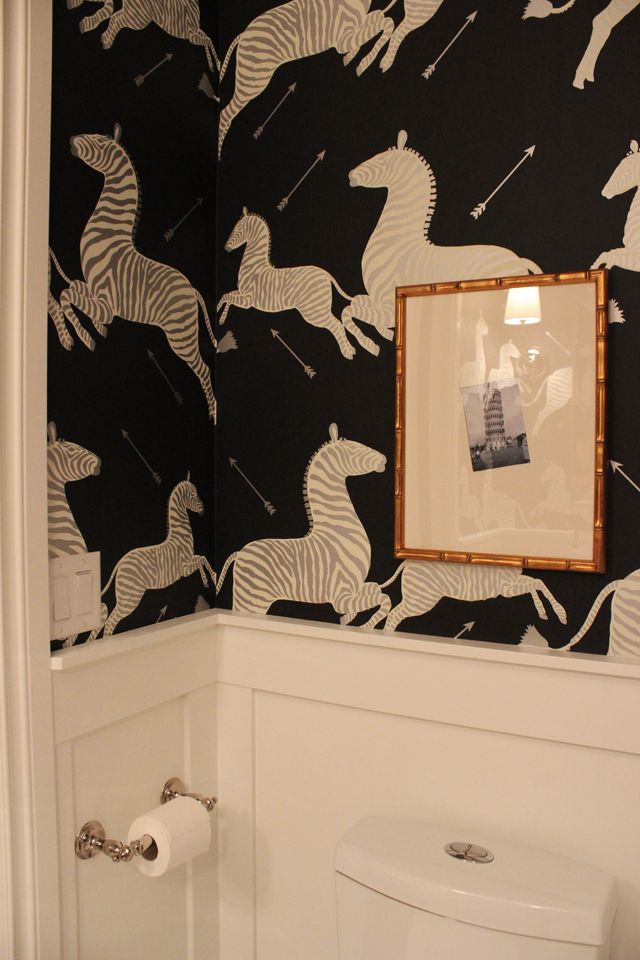
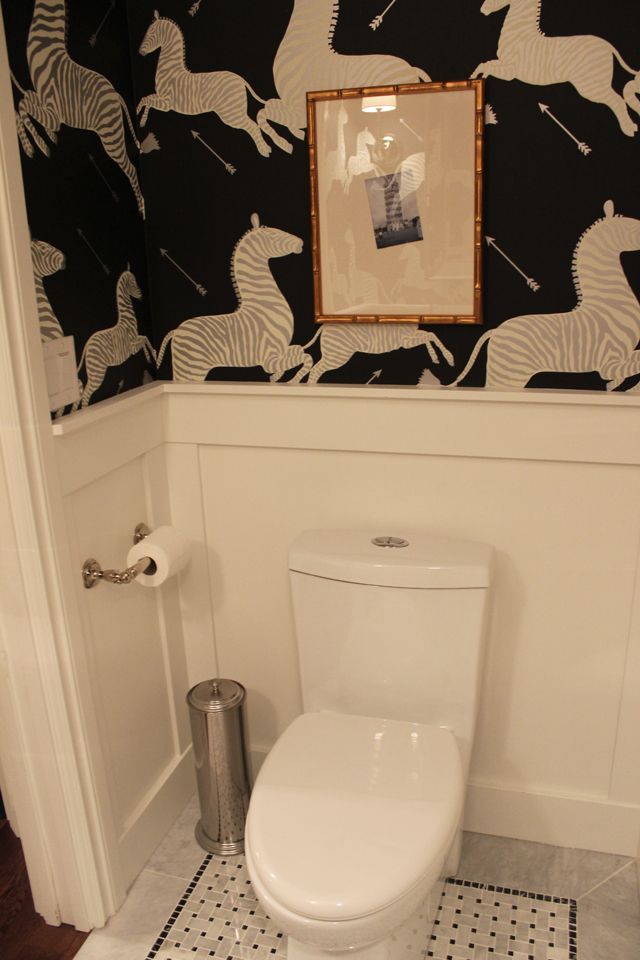
Marble tile was installed, and I love the way the oak floor meets so flush with the marble without any transition. As you can see just above and below, we installed this amazing Metrie recessed paneling in the entryway. To complement the entry millwork, we added simple board and batten with flat stock from Metrie to dress up the lower half of the wall. And let's be fully honest, I also anticipated little toddler hands could be destructive to pretty wallpaper and thought this could be and easy-to-clean and practical option:
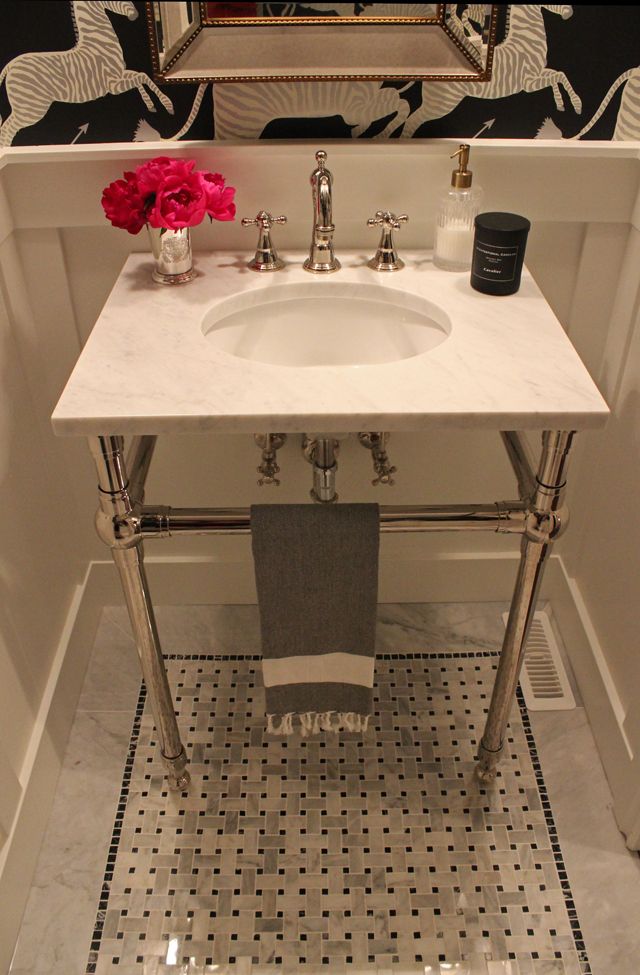
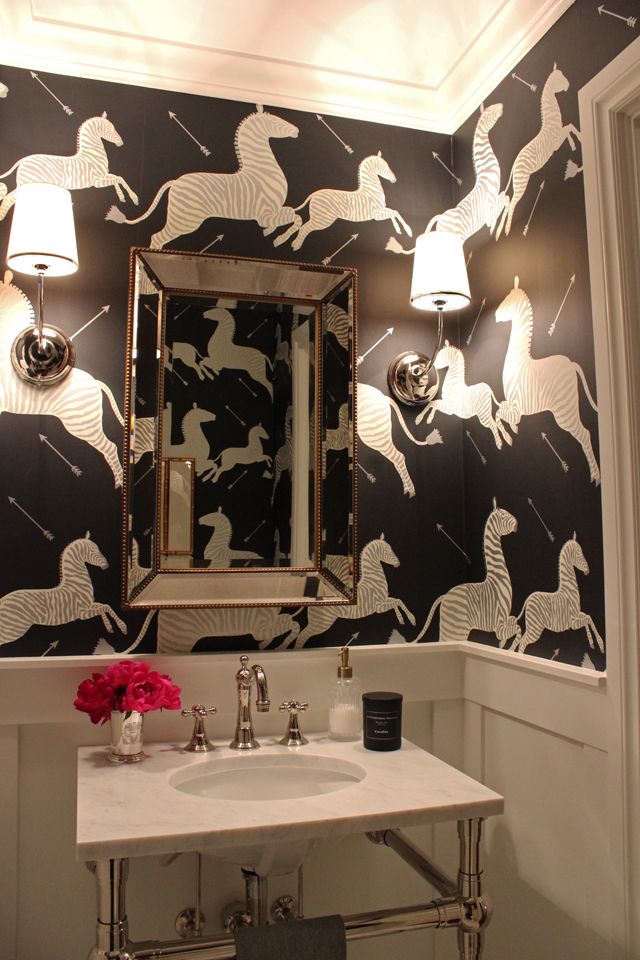
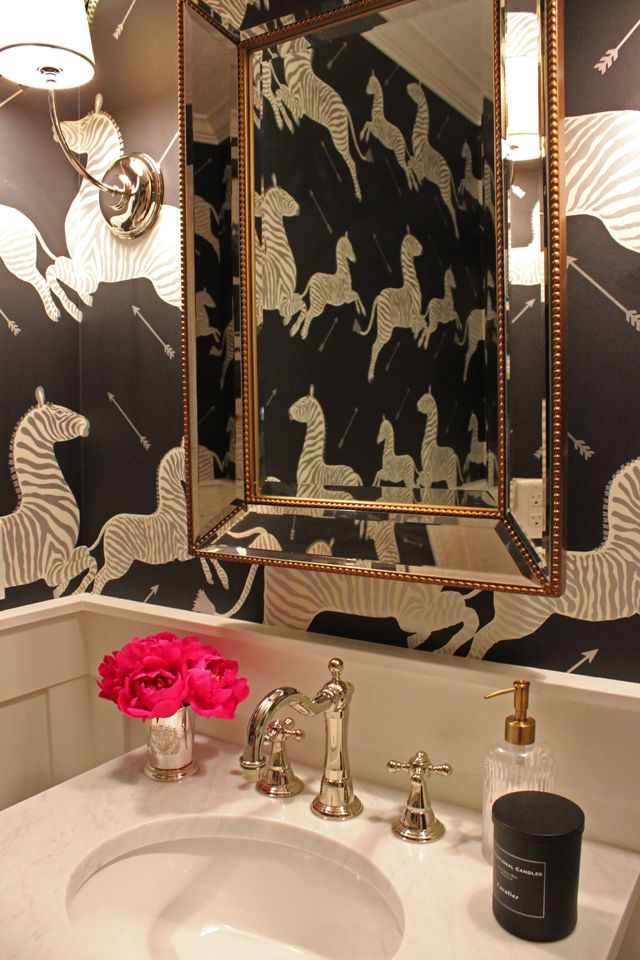
And now the completed afters; dark, moody, and pretty:
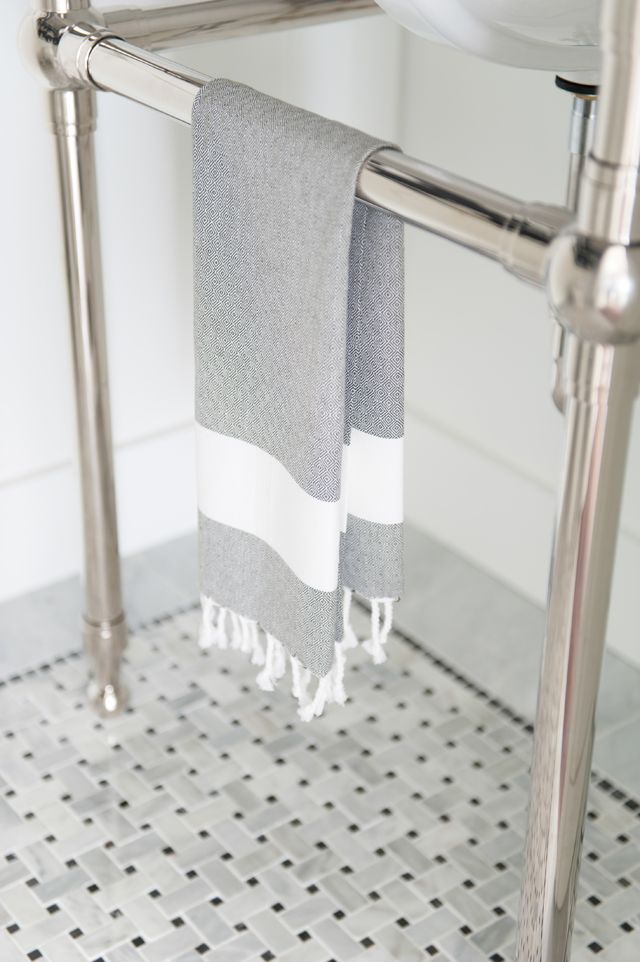
As for the washstand from RH, I found it was a lot more budget-friendly to purchase the washstand without the marble top. Pricing for having our own marble top cut and installed was much less expensive, and I could choose the piece of stone I wanted. I went with the powder room size vanity, which fit perfectly into our tiny space.
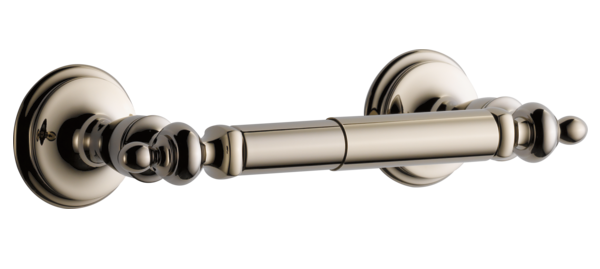
The traditional Charlotte toilet tissue holder from Brizo is so pretty, and I added conversation-starting art (a DIY) atop the toilet.
photo by Tracey Ayton Photography
photo by Tracey Ayton Photography
Another 'fun' structural detail - the air vent was in the floor and had to be moved or I would literally have had a vent placed in front of the vanity right in the middle of the mosaic tile! (the vent has a towel stuffed into it below):
You can see that the vent is now neatly tucked into the corner:
Metrie crown molding and door casing added to the architectural details of the paneling:
In case you are curious how I hide the extra toilet paper for guests since I now lack concealed storage, I purchased an inexpensive metal tissue tower from Amazon and it does the trick:
I just adore the look of a vintage-inspired cross handle faucet, and honestly the Tresa Lavatory faucet from Brizo is the prettiest faucet I have ever owned!! It comes in 4 finishes, I personally selected polished nickel to tie in with the metal of the washstand and water supply kit.
Now, I'm so thrilled that you can see a peek of this little jewel-box right when you walk into the entry of the home. It makes me happy every time I see it, and it definitely sets a first-impression with guests.
photo by Tracey Ayton Photography
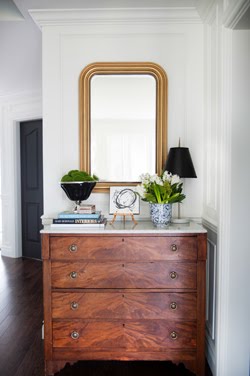
Before & after from the entry:
photo by Tracey Ayton Photography
Thank you for taking a peek at the progress of my home! It feels like there are never-ending projects on my list but one by one they are coming to completion. We've got many rooms left so stay tuned for more reno fun in the coming months.


