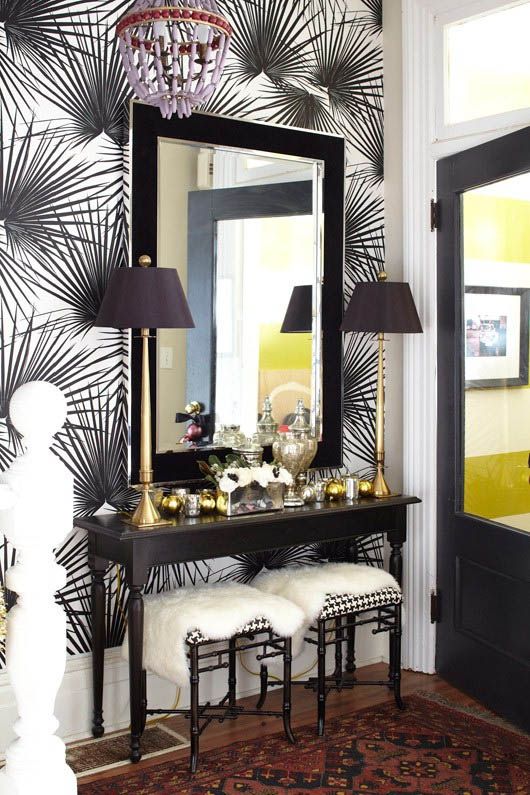
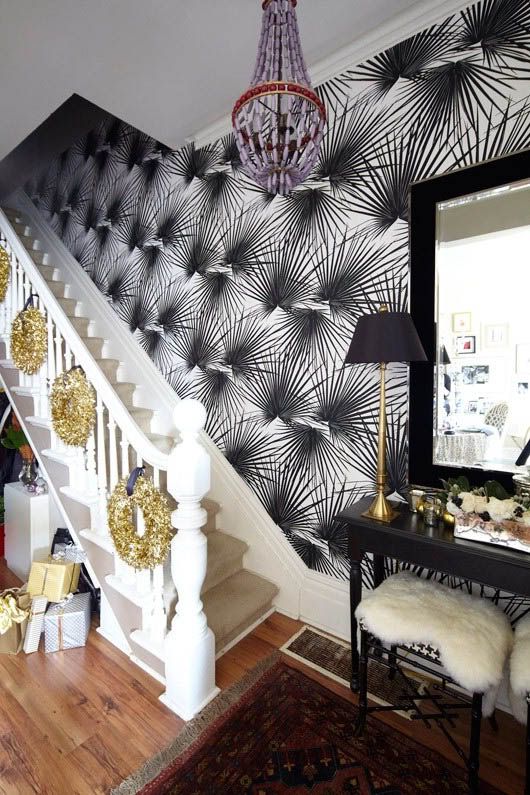
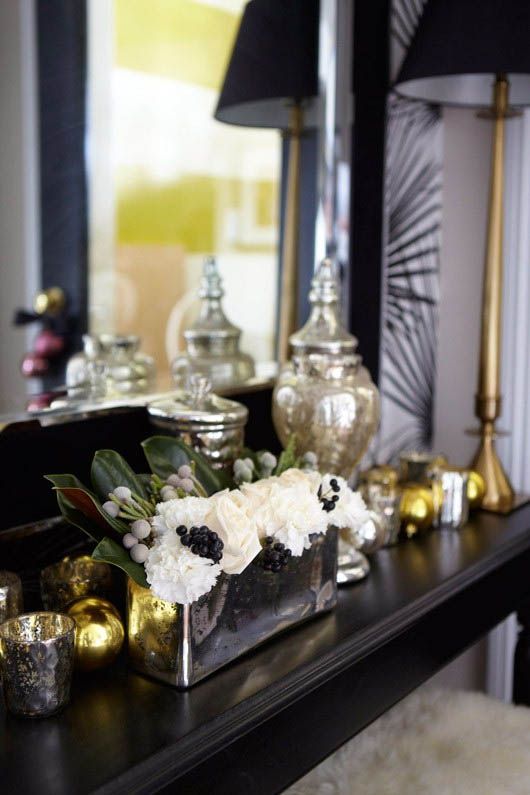
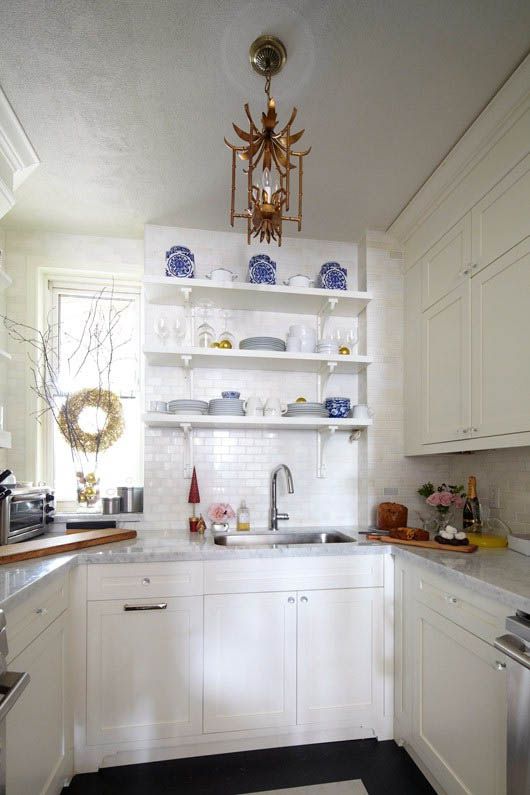
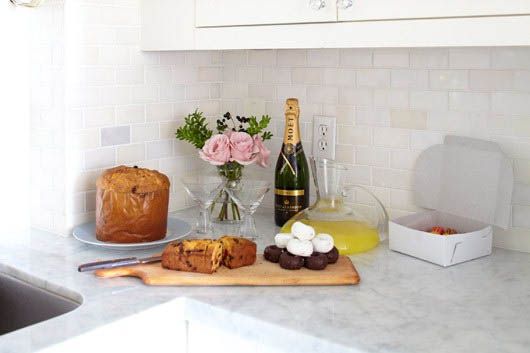
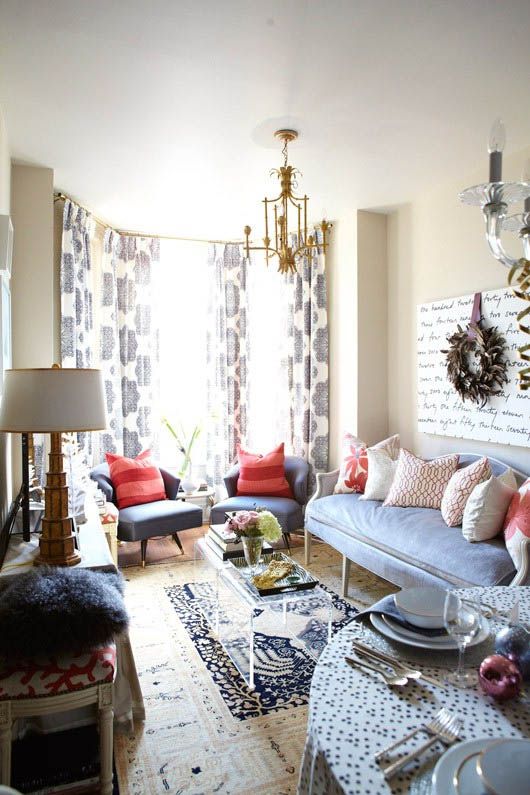
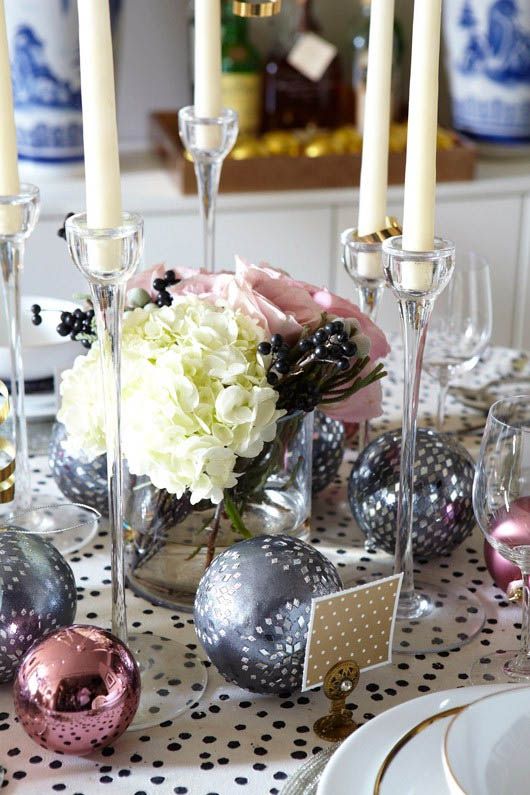
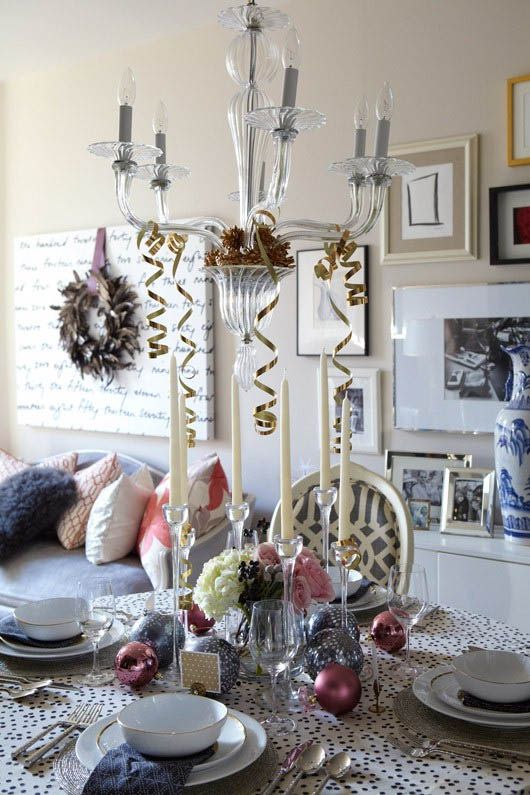
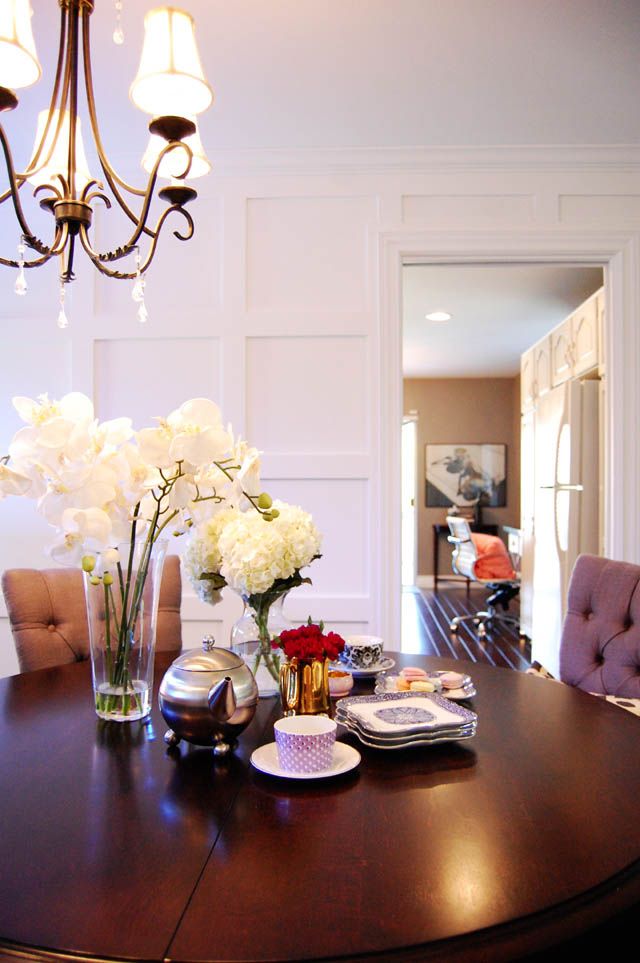
Here's a little look at the Christmasy-goodness happening in my home ... I love this time of year!! {click each image to enlarge}
Tuesday, December 13, 2011
Monday, December 12, 2011
{meredith heron's holiday delight}
I just love to see how others decorate their homes for Christmas! Enter talented designer Meredith Heron: she wowed us last year with her gorgeous holiday decor and she has out done herself again! I love the bold and glamorous feel her home gives and I know you will too {all images via HGTV}:
Oh I just adore Meredith's style! To see her home decked out for the Holiday's last year go here and to read a fabulous q & a with the talented designer behind these rooms go here.
Tuesday, October 11, 2011
{before and after: my diy panelled walls}
If you guessed from my post yesterday that my little project had something to do with our living and dining room walls you were right on! This was one of our summer projects that we took on this year and I am loving the difference it has made to the space. I am a big fan of architectural details and in a 1986 little suburban rancher, those kinda details are usually nowhere to be found! So we took a couple of plain and boring adjacent walls:
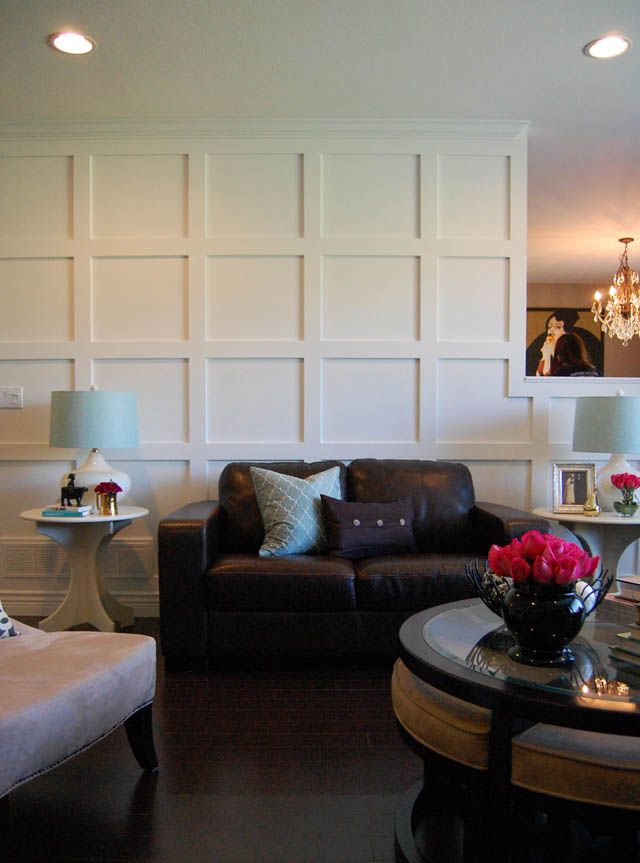
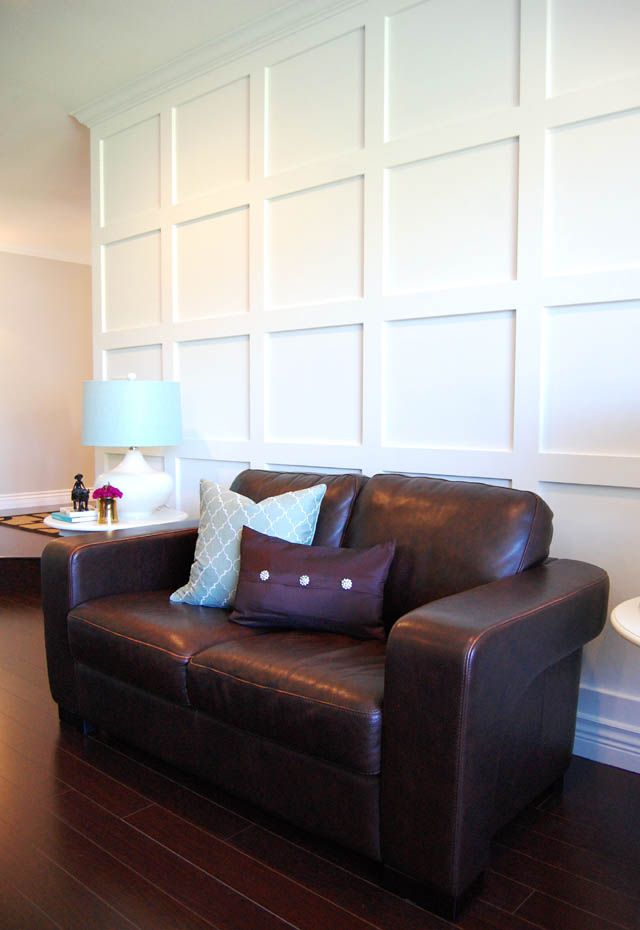
And turned them into this!
Much more interesting to look at don't you think? Here's how we did it:
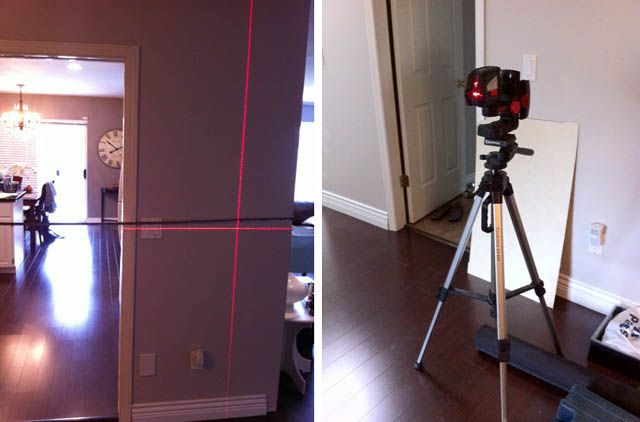
We started by literally drawing the lines onto the walls with a pencil. This way we could measure not once, not twice, but 3 times to be sure, plus we could get a sense of the scale to see if we liked it! This can be done with a large scale level but we were lucky enough to be able to use this nifty laser level {thanks to my cousin Ryan for his laser and perfect measuring skills! I'm sure something like this laser can be rented as well}:
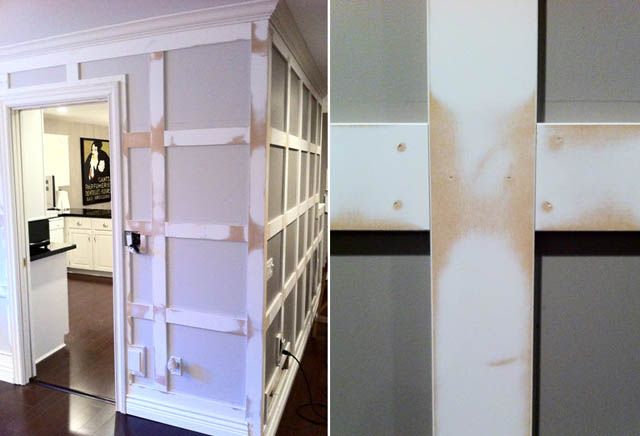
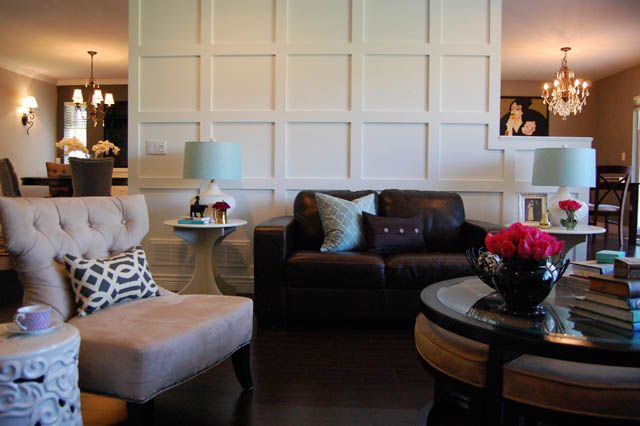
We used inexpensive strips of MDF and began to cut the pieces to create the grid pattern, with the longest stripes running vertically. Here you can see the two adjacent walls in the living and dining room that got this treatment; a nice way to tie the two rooms together!
Phew! The laser double checks our measurements were correct!
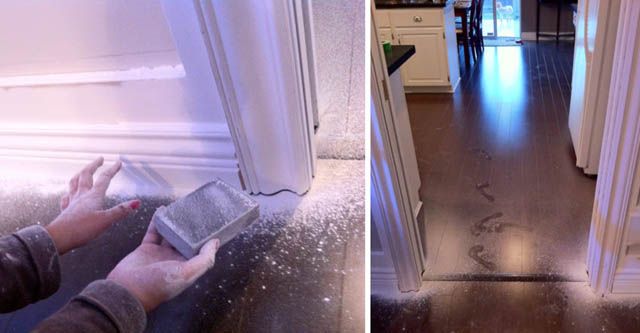
Then it was time to thoroughly sand every nail hole and joint between the MDF strips.
Which created a bit of a snow storm in the house, what a mess!!
After sanding we filled the nail holes and joints with filler and sanded a second time {painful}. We also caulked around the spaces between the MDF boards and the wall so NO cracks would be visible! Let's just say patience is a virtue.
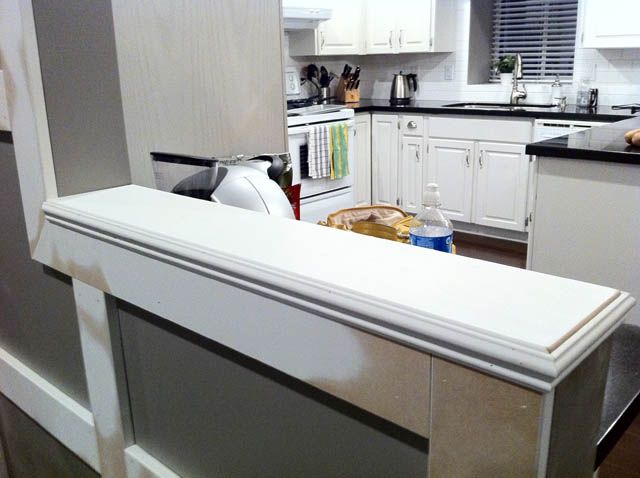
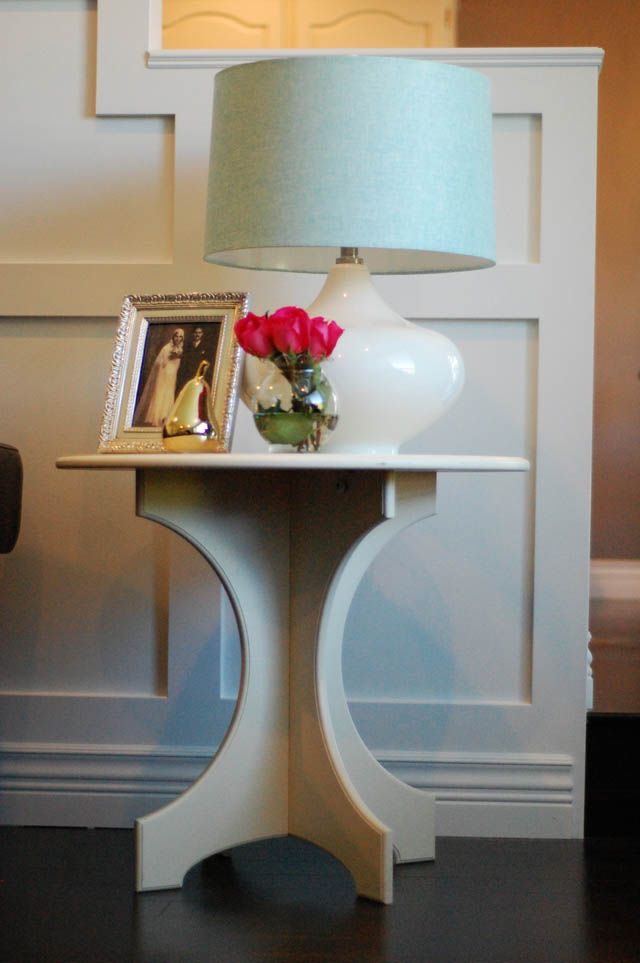
We created a little ledge with extra molding in this cut-out portion of the wall {we cut this part of the wall to open up the space between the kitchen and living room: aka so we could see the TV while eating dinner!}.
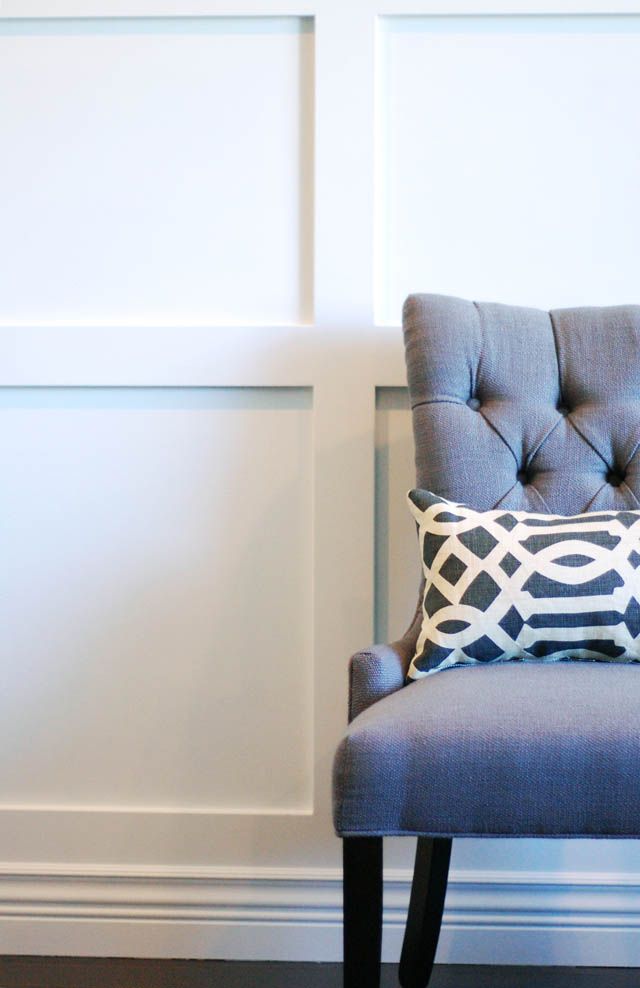
And finally it was time to slather on the paint! We used Benjamin Moore's Chantilly Lace, a nice warm white. So again, the place went from this:
To bright and visually interesting!
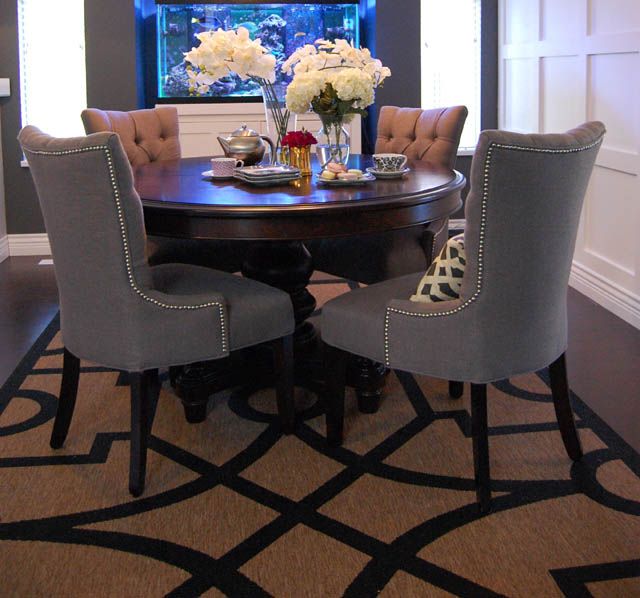
Oh, and did I forget to mention 2 years later I FINALLY got dining room chairs?? Those of you who have been following know that it's been quite a struggle for me, I scored these for $200 a pop at HomeSense.
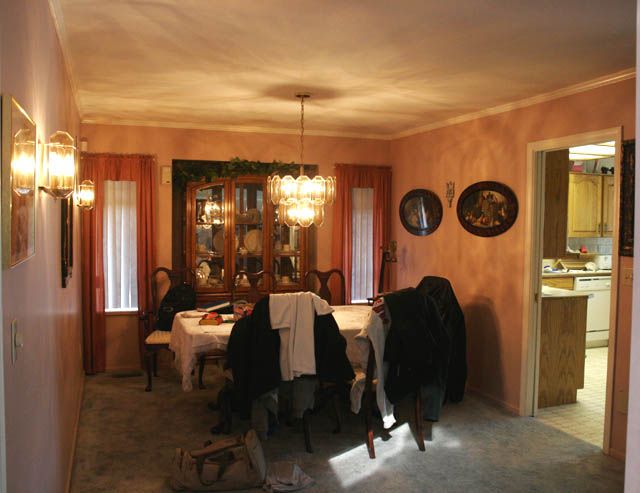
A small recap on how this room looked before we moved in:
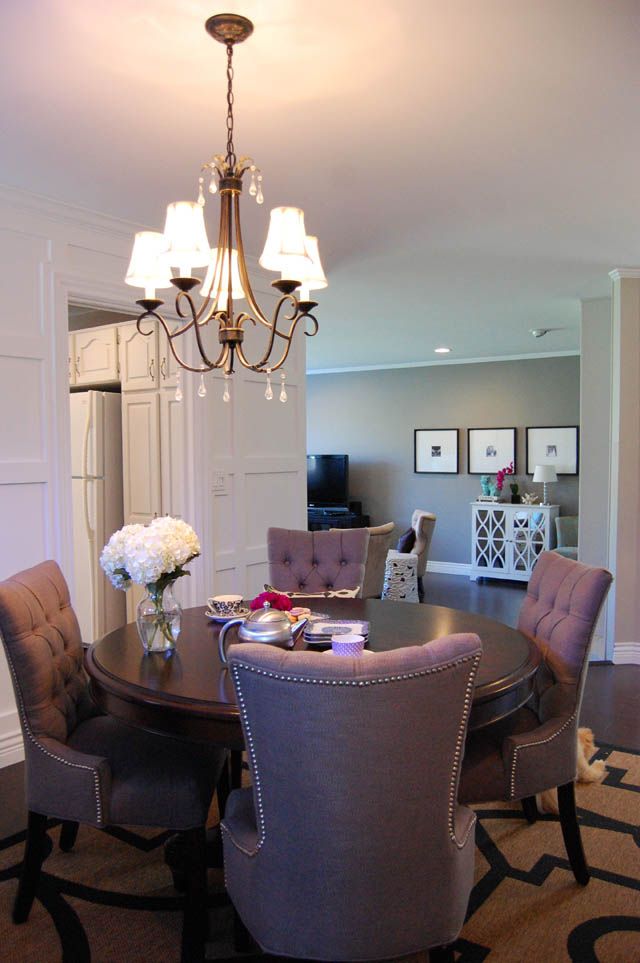
And after:
All in all, I'm really happy with how the project turned out, and panelling like this does not have to be pricey! For the cost of the MDF, a can of paint, a heavy dose of perseverance, and rental of a saw, laser level, and nail gun {unless you already have these tools!} it's possible to add classic and eye-catching architectural details to any space.
Have you got any home DIY projects on the go? I'd love to hear!
Friday, October 7, 2011
{blend2011: an evening soiree}
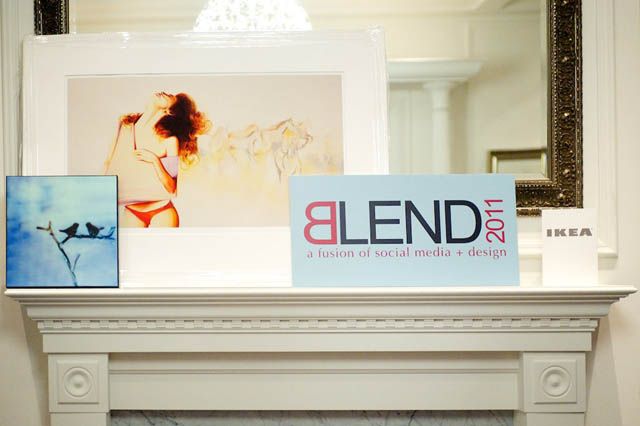
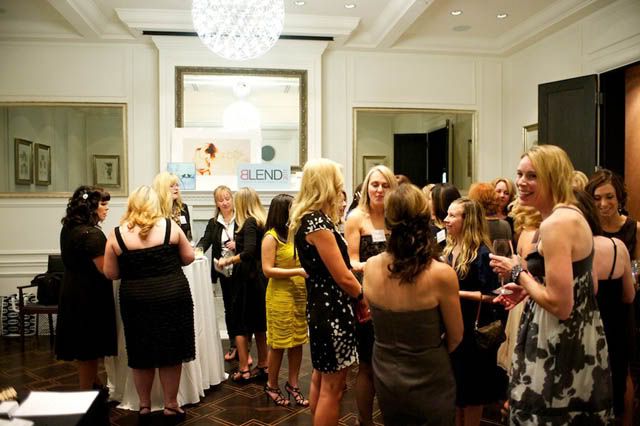
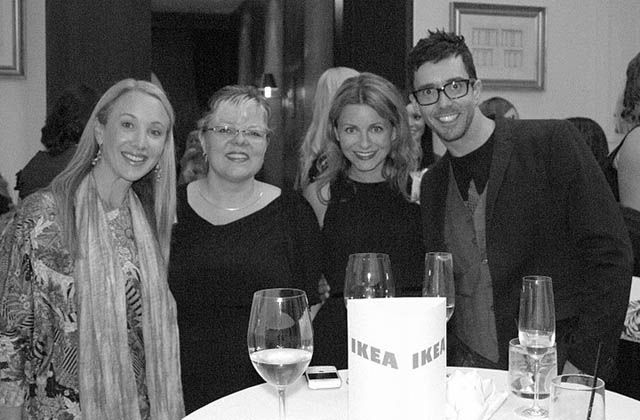
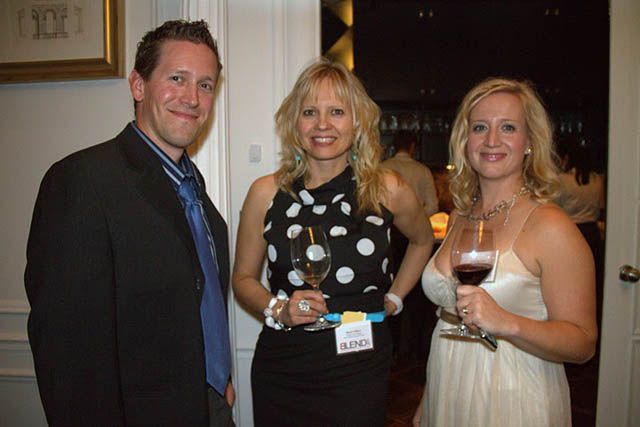
As promised, I've got a few images from our event last weekend, and what a night it was! With Ikea as the evening's sponsor, a few very special guests, and the fabulous atmosphere of the Loden Hotel, it was a hit! We purposefully planned the event around the IDSwest show in Vancouver, an interior design show that brings some of the most talented people to town. Blend 2011 was designed to be a fusion of social media & design, bringing together bloggers, designers, photographers and artists in the field. I'm hoping this event will be even bigger and better next year!
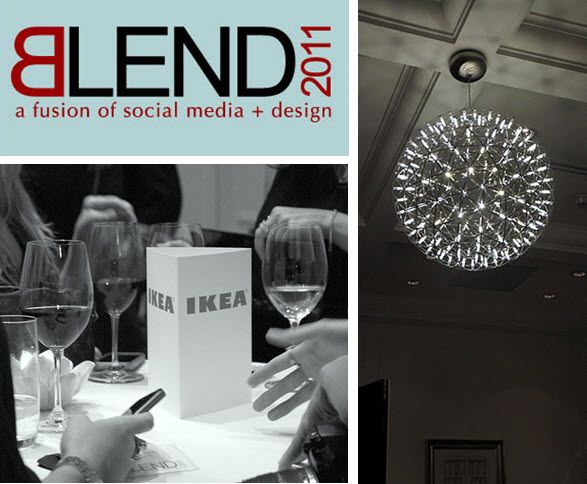
{you can't have a social media event without an excess of tweeting can you! Logo design via Danielle of Urban Walls, images via Sari McNamee}
{image: Darryl Bueckert}
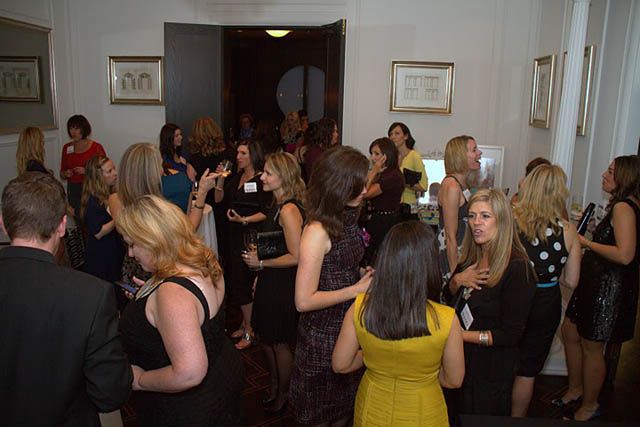
We had a gorgeous room at the Loden - I was in awe of all those fabulous & talented people together in one space!
{image: Sari McNamee}
A shot where you can see my shoes {I'm the one wearing yellow}, only because I wanted to point out that while I loved them, I was about to die with every single step by the end of the night! Guess they need a bit more 'breaking into,' lol!
{image: Darryl Bueckert}
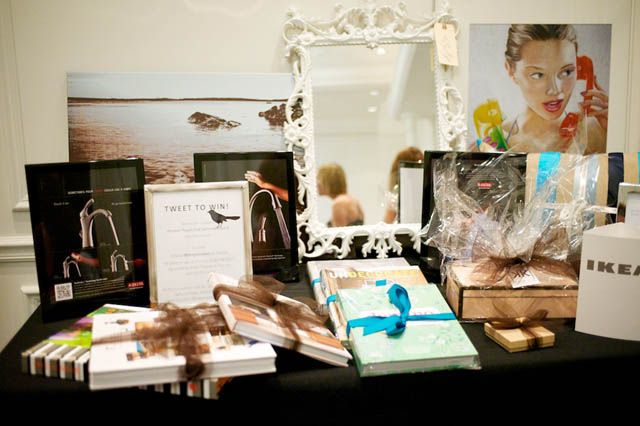
Our giveaway table was filled with goodies! Decor books and faucets from Delta Faucets, artwork and so many lovely items donated for door prizes ...
{image: Darryl Bueckert}
And yes, you may have spotted my print in the back there, I gave one away as a prize and was so thankful for all the postive feedback from others!
{image: Darryl Bueckert}
I drooled over this pillow that The Cross generously donated ... wish that one came home with me!!
{image: Darryl Bueckert}
Besides door prizes, everyone went home with a swag bag filed with goodies from Ikea, Para Paints, Benjamin Moore, Kerrisdale Design, Michelle Morelan, Heather Ross, and more!
The organizers had the chance to snap a photo with our special guests:
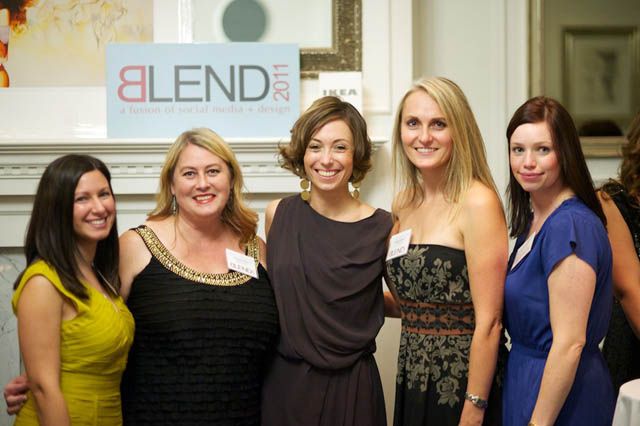
{left to right: Barbara of hodge:podge, me, House & Home editor-in-chief Suzanne Dimma, Karla of Kerrisdale Design & Victoria of Edin's House, image: Sari McNamee}
Wonderful people made for a wonderful night!
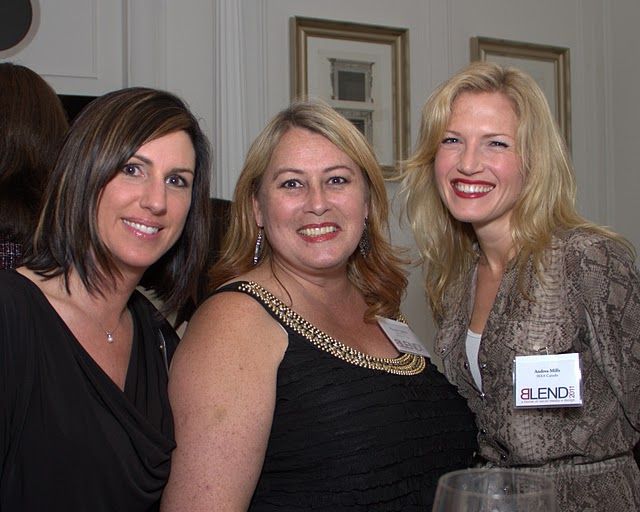
Meesh of I dream of chairs, Victoria of Edin's House, and Andrea Mills {Public Relations Specialist of Ikea - she was integral in our event planning, thanks Andrea! image: Sari McNamee}
H&H's Suzanne Dimma, Sari of The Lovely in Life, Erica of Moth Design, and Mark Challen of H&H, image: Sari McNamee
Darryl Bueckert, Maria Killam of Color Me Happy, and Jodi Bueckert of The Simply Inspired Home {Darryl and Jodi won $1000 gift card from Ikea!!! image: Sari McNamee}
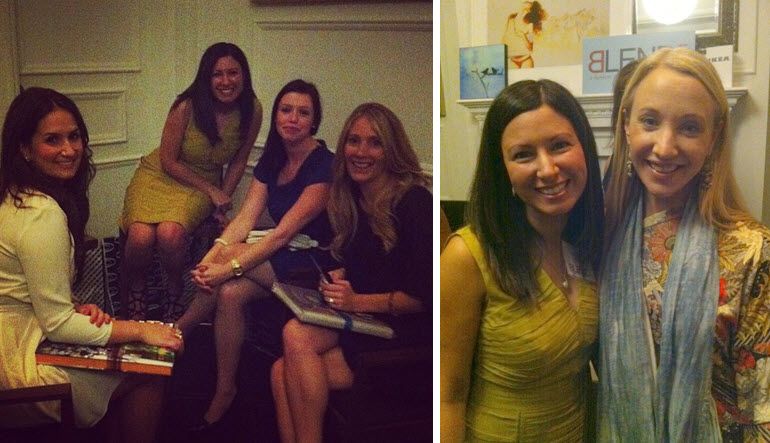
And of course a social media event would not be complete without a few photos snapped with our Iphones!
Left: Hanging with Amanda of TwentyOneTwo Designs, Karla of Kerrisdale Design, and Danielle of Urban Walls. Right: Me & Suzanne Dimma.
What a wonderful night! A giant thank you to everyone who made it possible and everyone who attended. Here's to Blend 2012!!
Friday, September 30, 2011
{thank you style at home!}
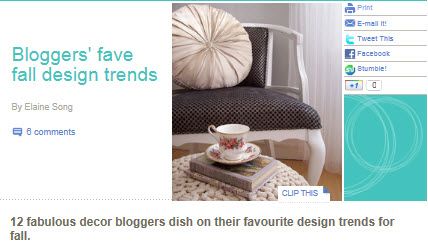
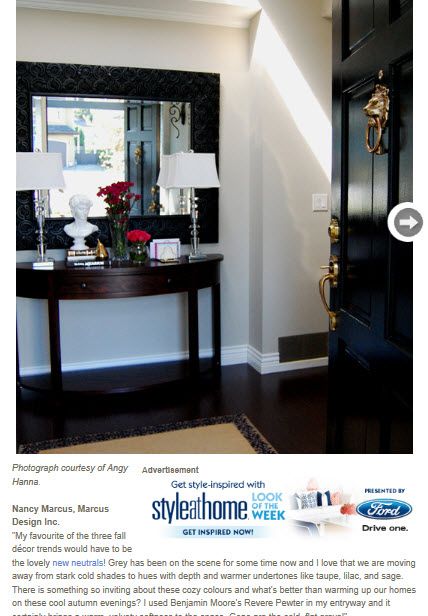
I have to give a big thank you to styleathome.com and Style at Home Web Editor Elaine Song for asking me to take part in an online article where 12 bloggers weighed in on their Favorite Fall trend! Check out my favorite for the fall here. I really appreciate that Style at Home loves to create dialogue with bloggers, it's so neat to hear the opinion of others in the blogosphere. I had so much fun participating, thank you Style at Home!
Happy Friday, it's the weekend! I'm gearing up to enjoy all the IDSwest festivities and from the sneak peek at the Opening Gala yesterday, it is guaranteed to be a great show!


