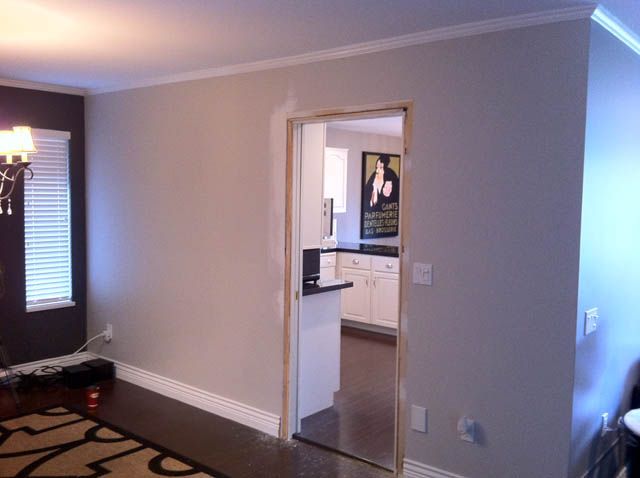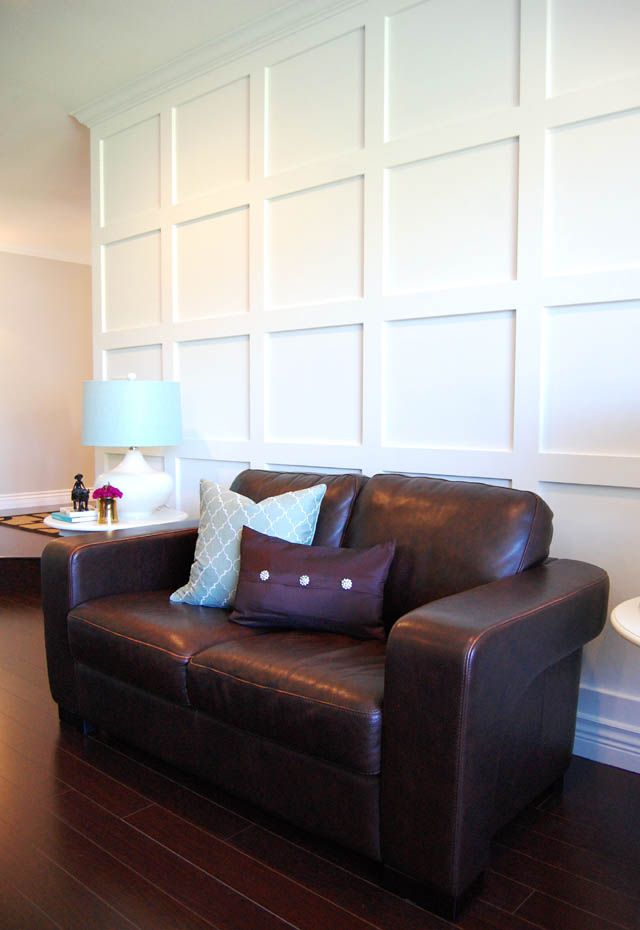
If you guessed from my post yesterday that my little project had something to do with our living and dining room walls you were right on! This was one of our summer projects that we took on this year and I am loving the difference it has made to the space. I am a big fan of architectural details and in a 1986 little suburban rancher, those kinda details are usually nowhere to be found! So we took a couple of plain and boring adjacent walls:
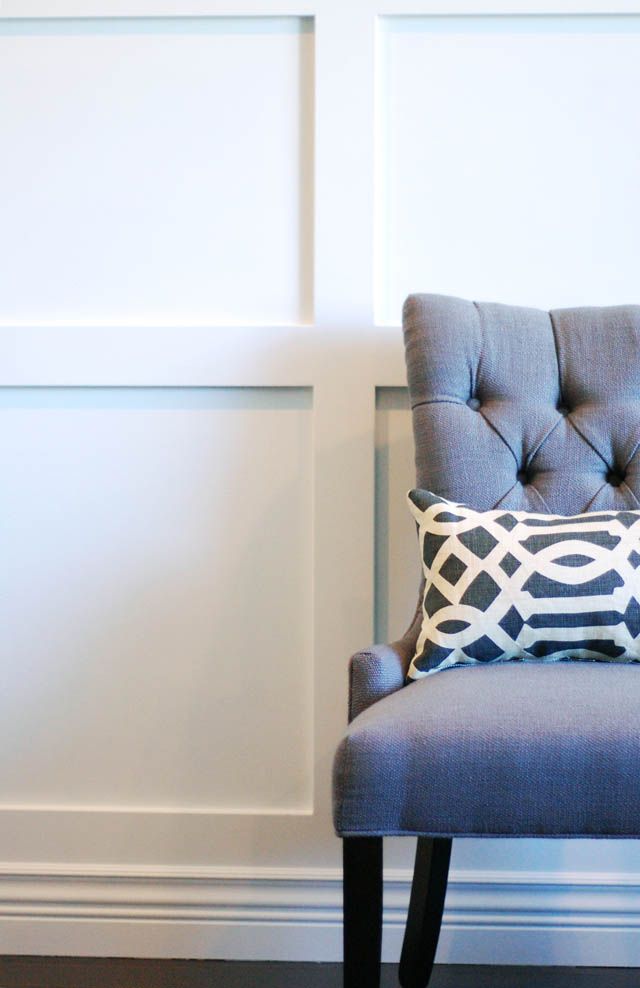
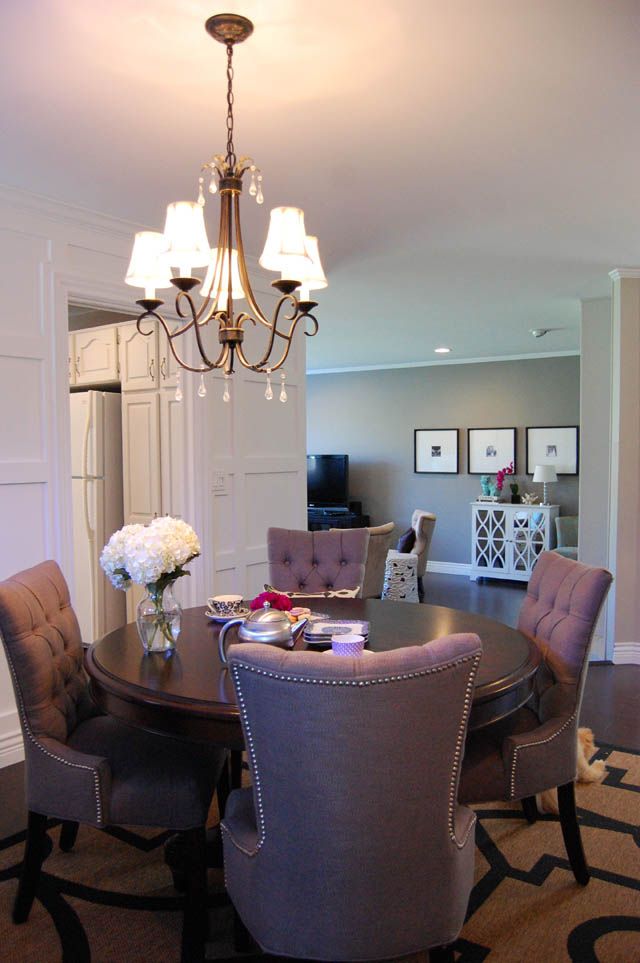
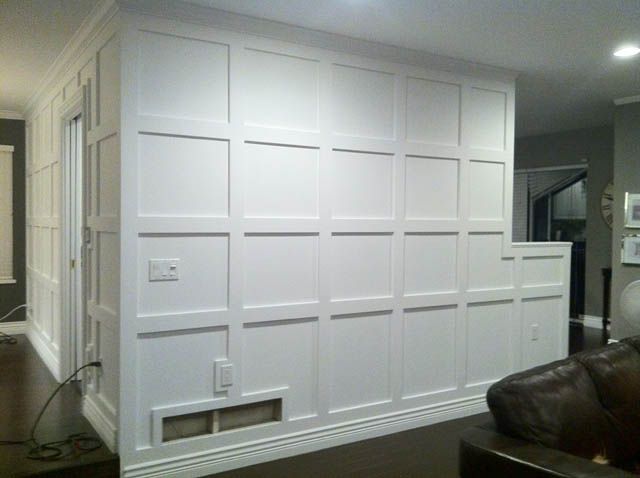
And turned them into this!
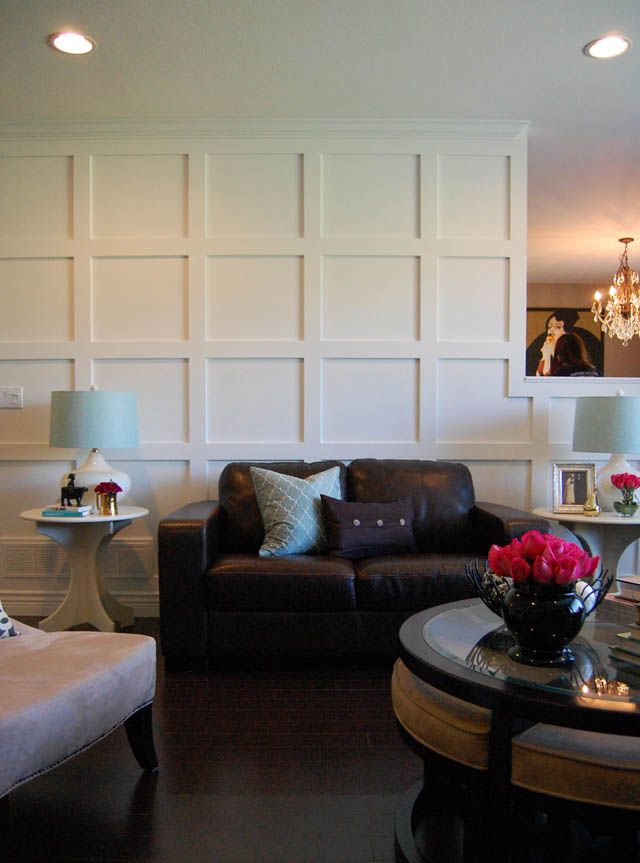
Much more interesting to look at don't you think? Here's how we did it:
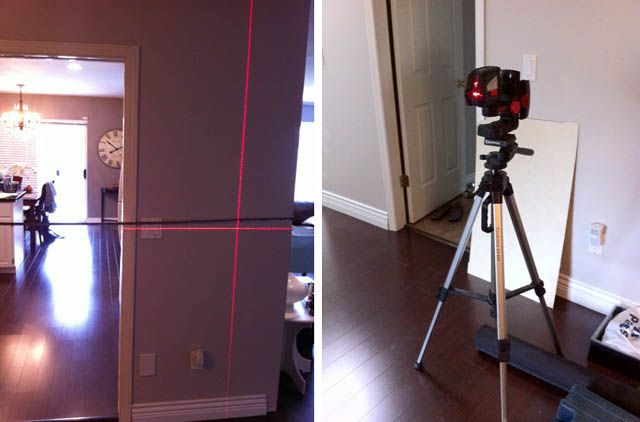
We started by literally drawing the lines onto the walls with a pencil. This way we could measure not once, not twice, but 3 times to be sure, plus we could get a sense of the scale to see if we liked it! This can be done with a large scale level but we were lucky enough to be able to use this nifty laser level {thanks to my cousin Ryan for his laser and perfect measuring skills! I'm sure something like this laser can be rented as well}:
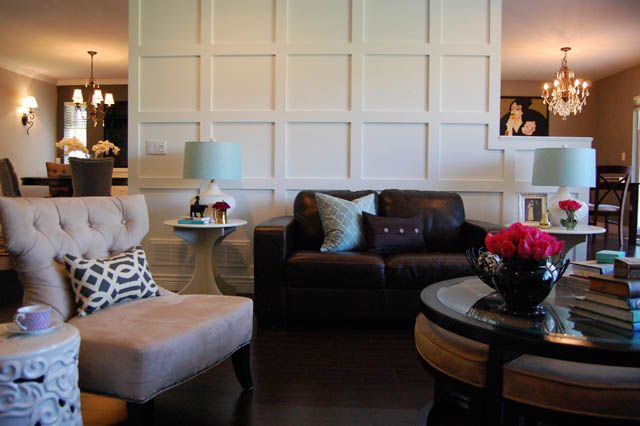
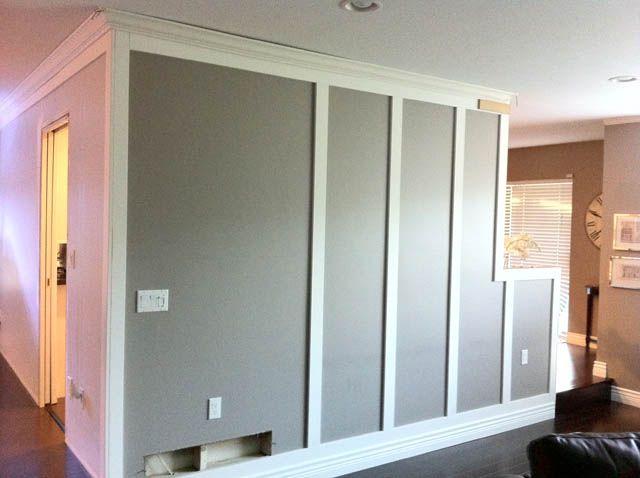
We used inexpensive strips of MDF and began to cut the pieces to create the grid pattern, with the longest stripes running vertically. Here you can see the two adjacent walls in the living and dining room that got this treatment; a nice way to tie the two rooms together!
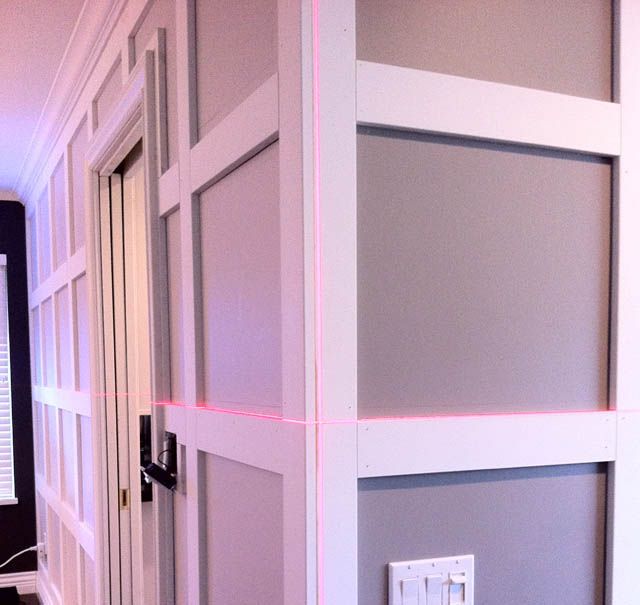
Phew! The laser double checks our measurements were correct!
Then it was time to thoroughly sand every nail hole and joint between the MDF strips.
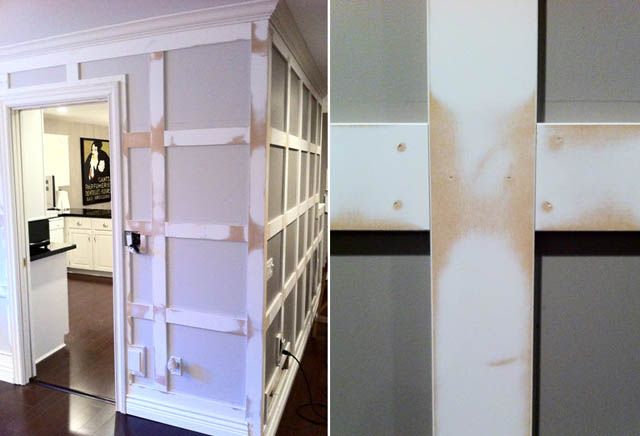
Which created a bit of a snow storm in the house, what a mess!!
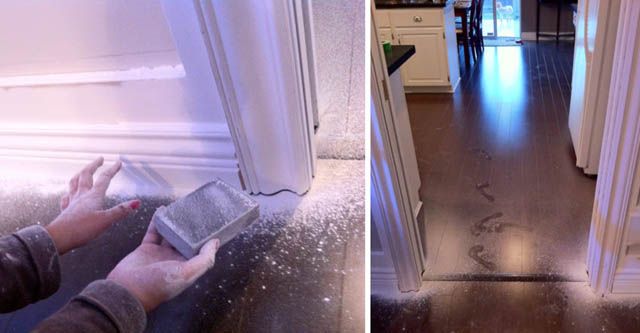
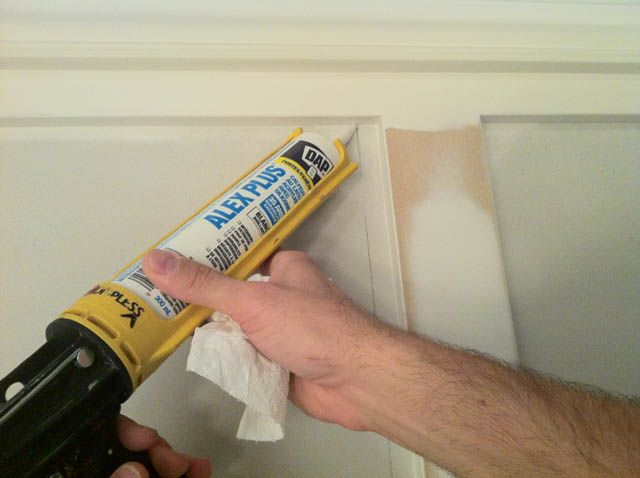
After sanding we filled the nail holes and joints with filler and sanded a second time {painful}. We also caulked around the spaces between the MDF boards and the wall so NO cracks would be visible! Let's just say patience is a virtue.
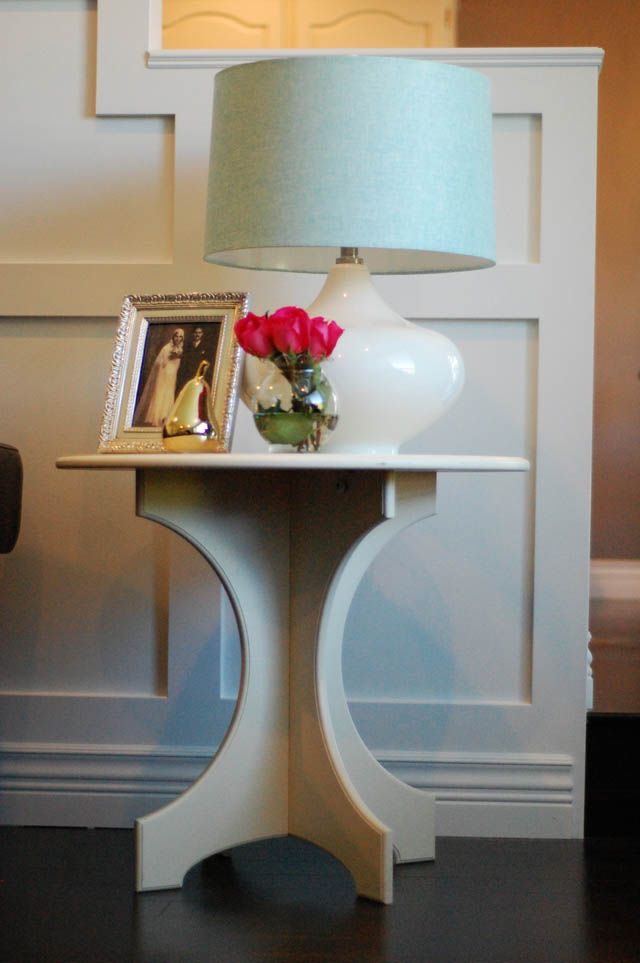
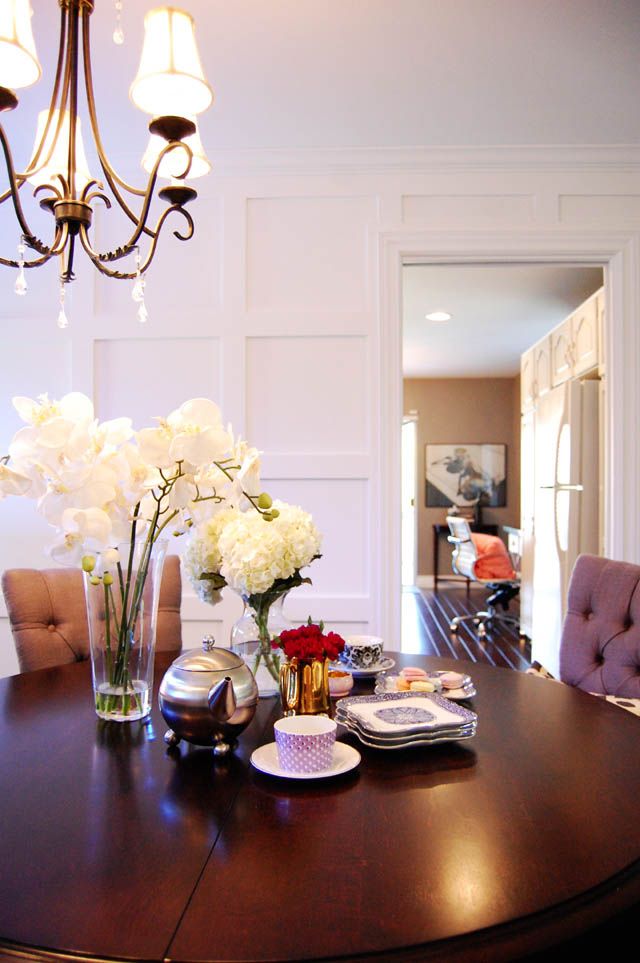
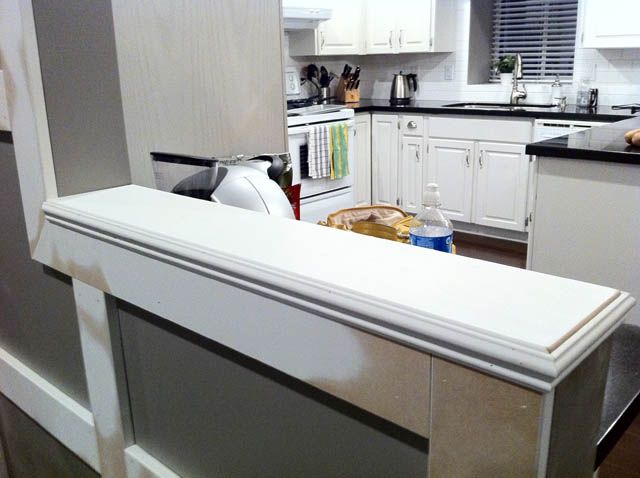
We created a little ledge with extra molding in this cut-out portion of the wall {we cut this part of the wall to open up the space between the kitchen and living room: aka so we could see the TV while eating dinner!}.
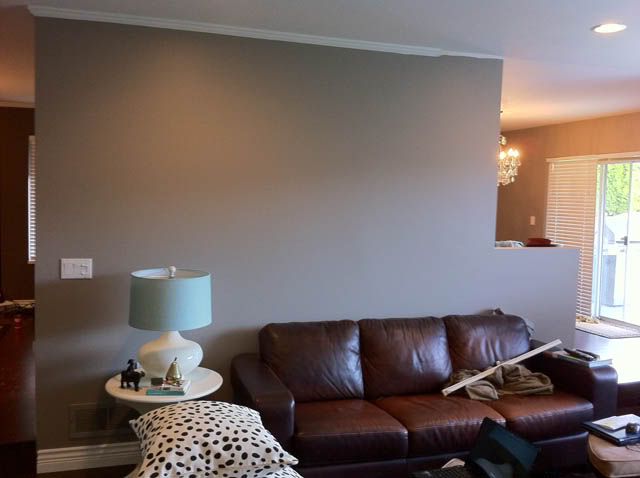
And finally it was time to slather on the paint! We used Benjamin Moore's Chantilly Lace, a nice warm white. So again, the place went from this:
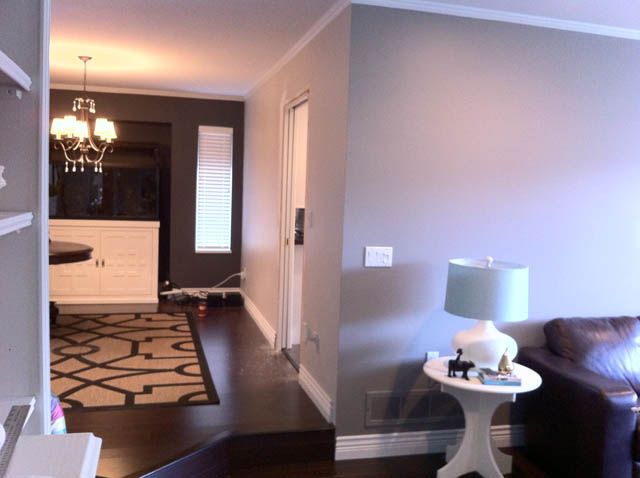
To bright and visually interesting!
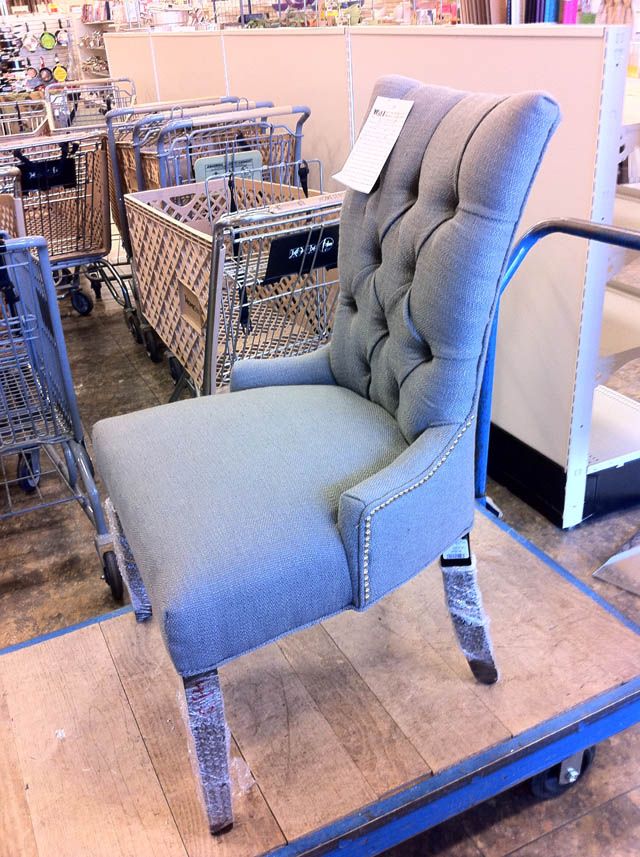
Oh, and did I forget to mention 2 years later I FINALLY got dining room chairs?? Those of you who have been following know that it's been quite a struggle for me, I scored these for $200 a pop at HomeSense.
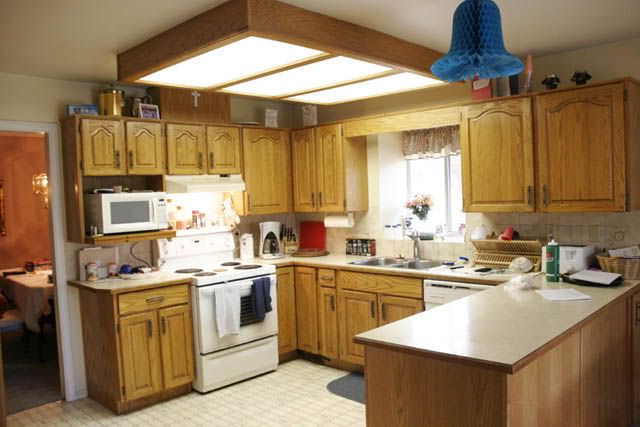
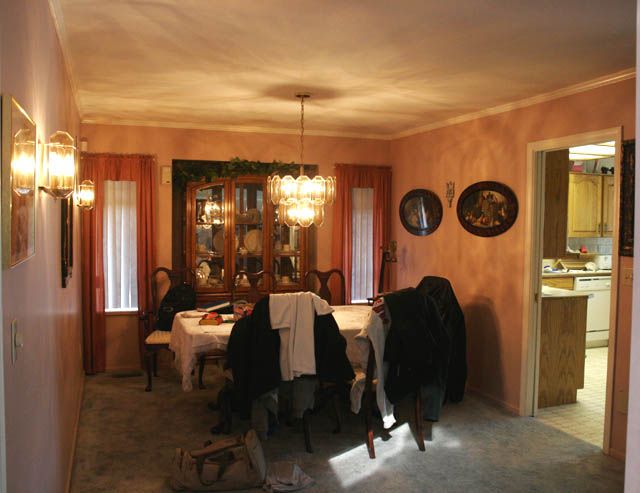
A small recap on how this room looked before we moved in:
And after:
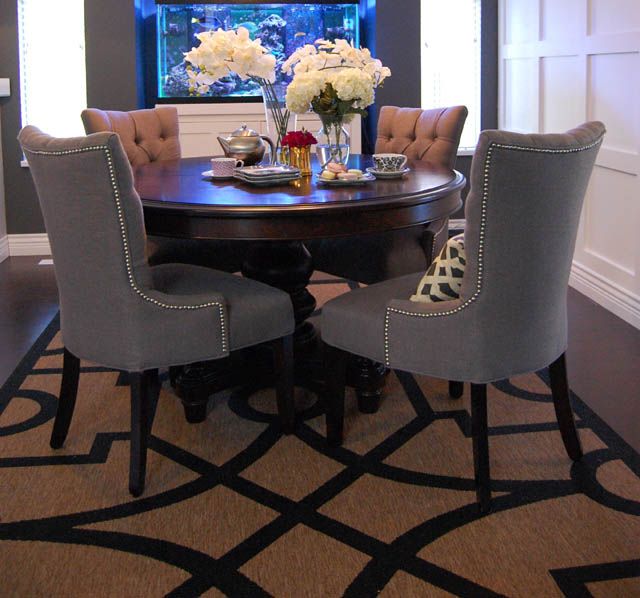
All in all, I'm really happy with how the project turned out, and panelling like this does not have to be pricey! For the cost of the MDF, a can of paint, a heavy dose of perseverance, and rental of a saw, laser level, and nail gun {unless you already have these tools!} it's possible to add classic and eye-catching architectural details to any space.
Have you got any home DIY projects on the go? I'd love to hear!
Showing posts with label Before and After. Show all posts
Tuesday, October 11, 2011
Wednesday, September 28, 2011
{before & after: my kitchen reno}
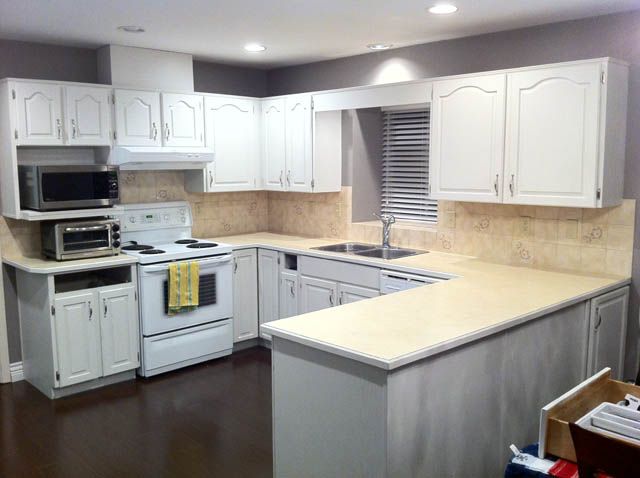
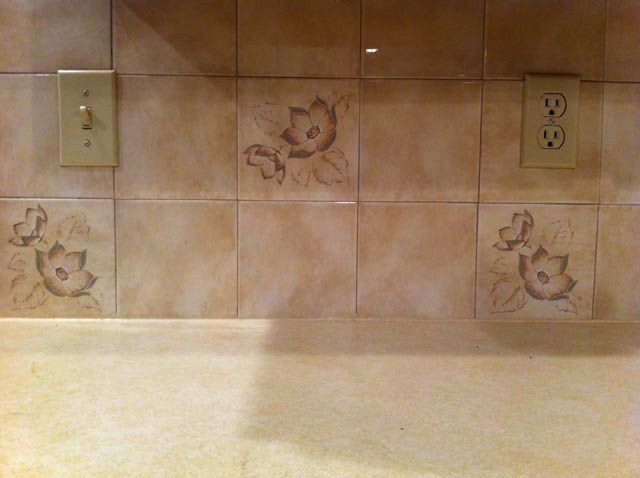
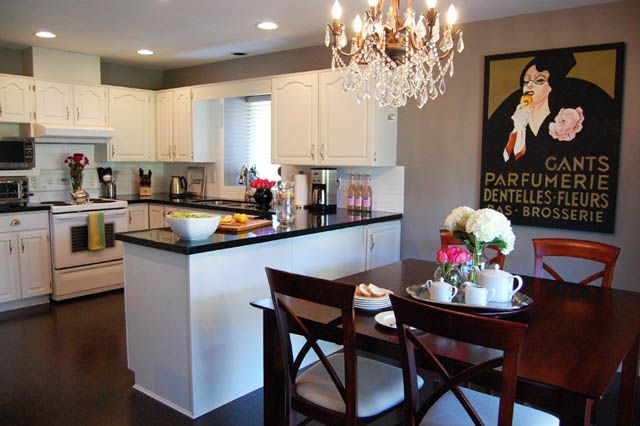
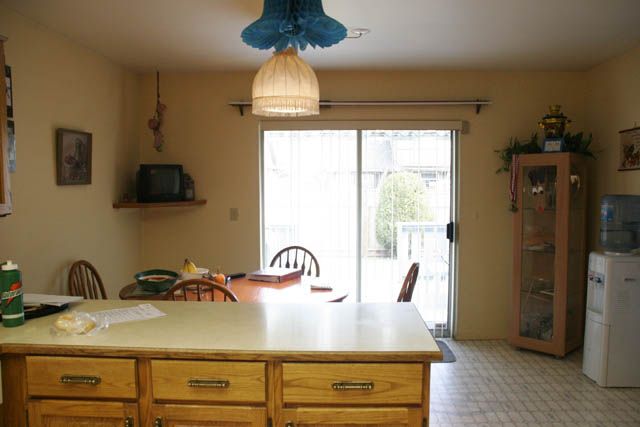
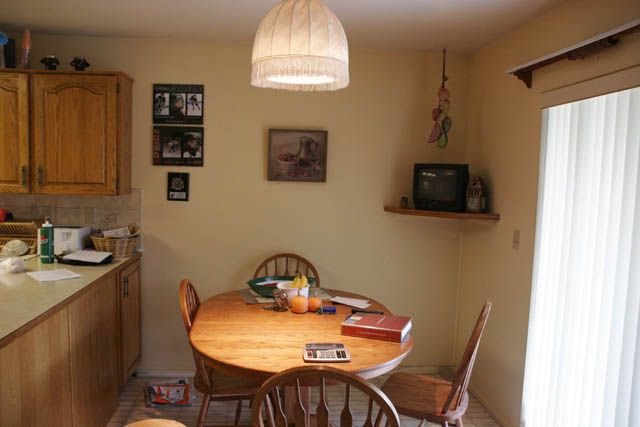
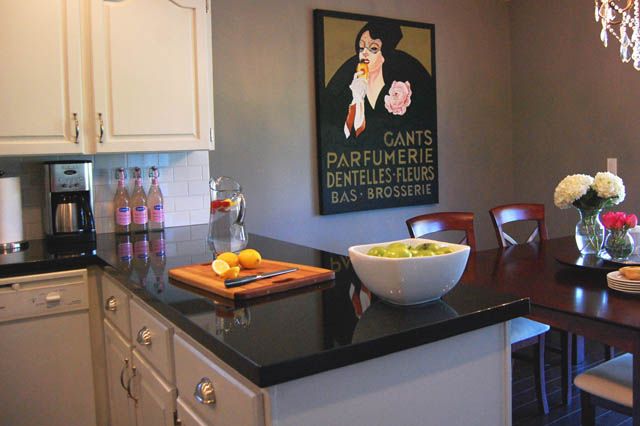
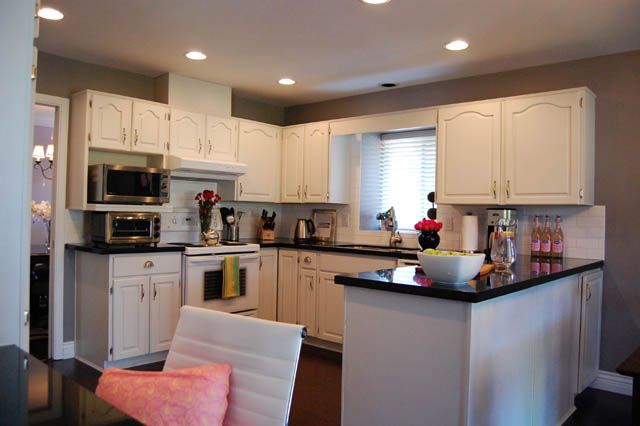
Finally! I've got pictures of my kitchen renovation {that was officially completed this summer} to share with you. We've lived in our home for 4 years now, and it took a while to get this reno complete. Our goal was to freshen up the space on a budget: we want to sell this home in the next couple of years so only a 'mini-reno' was required. We painted our old oak cupboards right before we moved in, but we put up with the disintegrating laminate counters & floral backsplash tiles for far too long!
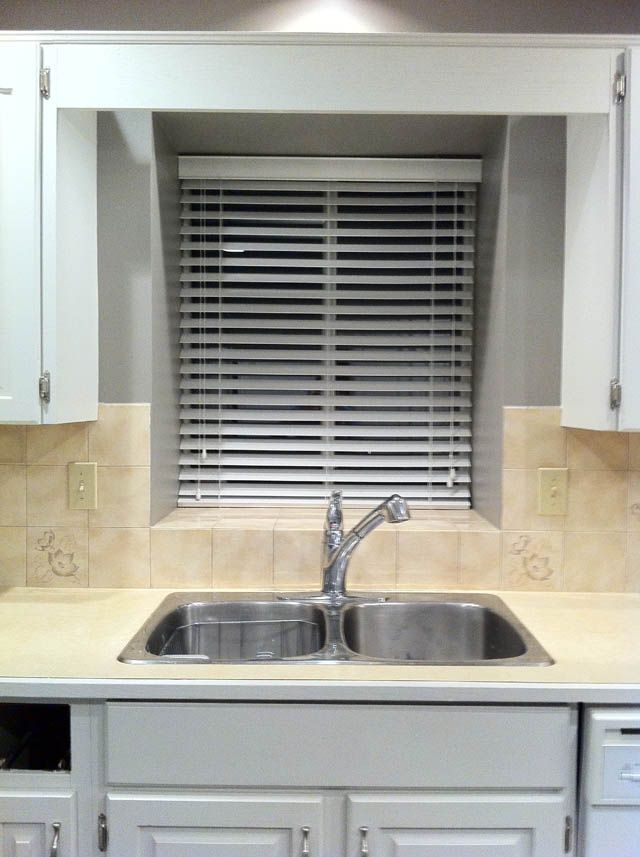
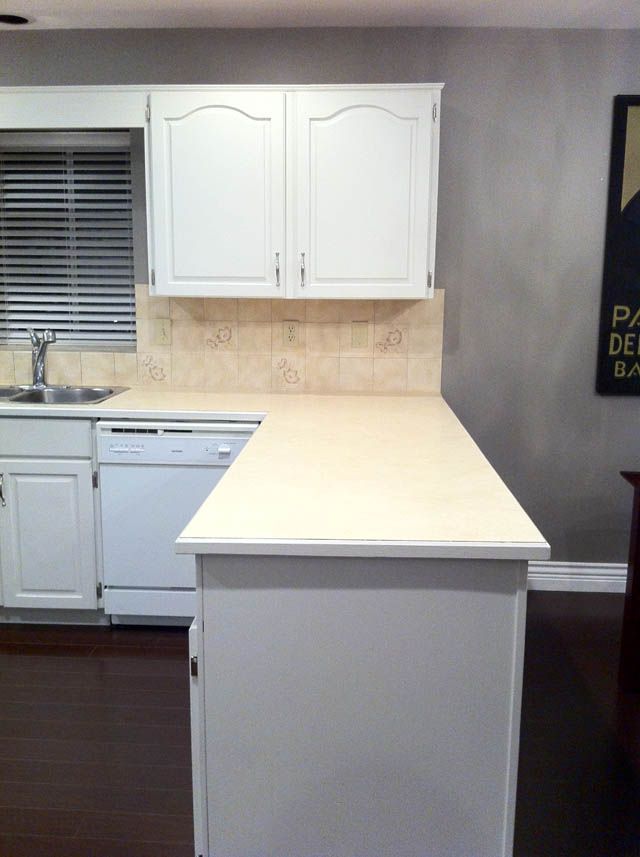
Before I show you the space all new and improved, I have to show you the befores {it wouldn't be any fun without them, would it?}. Please keep in mind, the photos were taken when the former owner of the home was living here! {We snapped pics on our home-inspection rounds}. Cue the dramatic music ... duh duh duh DUH!
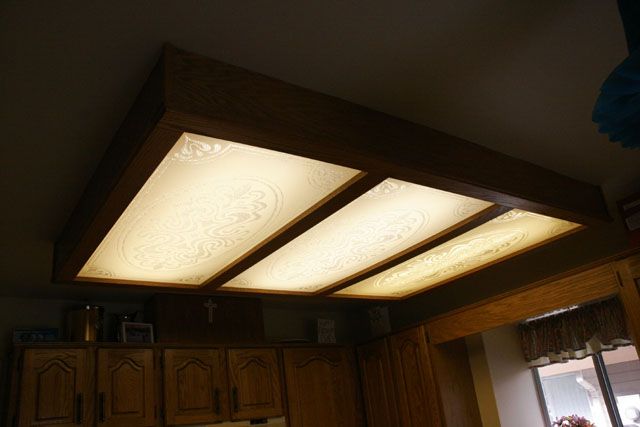
What did I tell you? So, before moving in, we at least changed the floors and painted all cupboards. We got rid of the box lighting above as well.
So we were in a limbo phase for quite some time:
But I still saw this in my face every day:
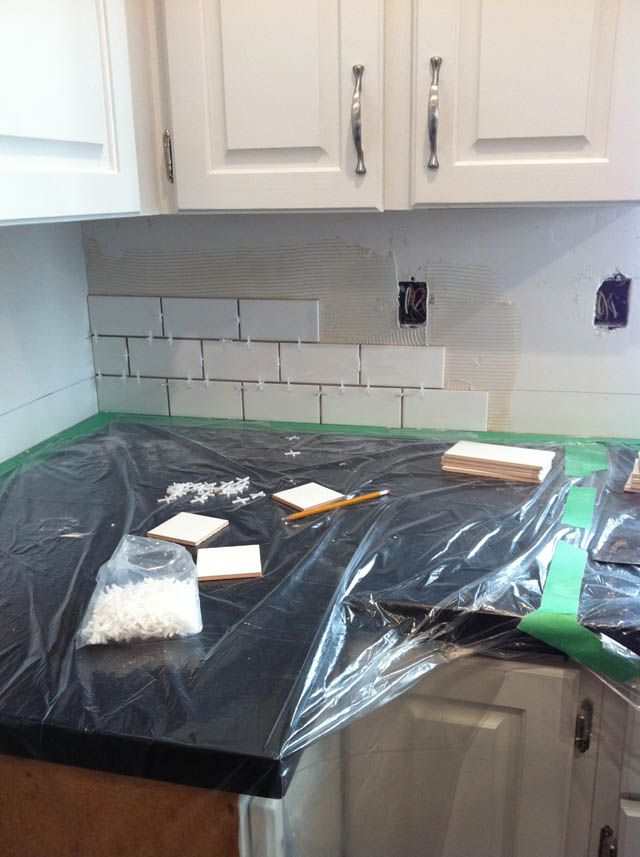
Not pretty. We knew we had to be patient and save up for new granite counter tops {our only real splurge} so we didn't want to put up a new backsplash until then. We took Tommy Smythe's advice {ate noodles for dinner for a month} and were able to get those shiny new counters :) We did the tiling ourselves after installation and chose an inexpensive subway tile:
My first time tiling and it was a blast!! I love those little spacers :) So, again the BEFORE:
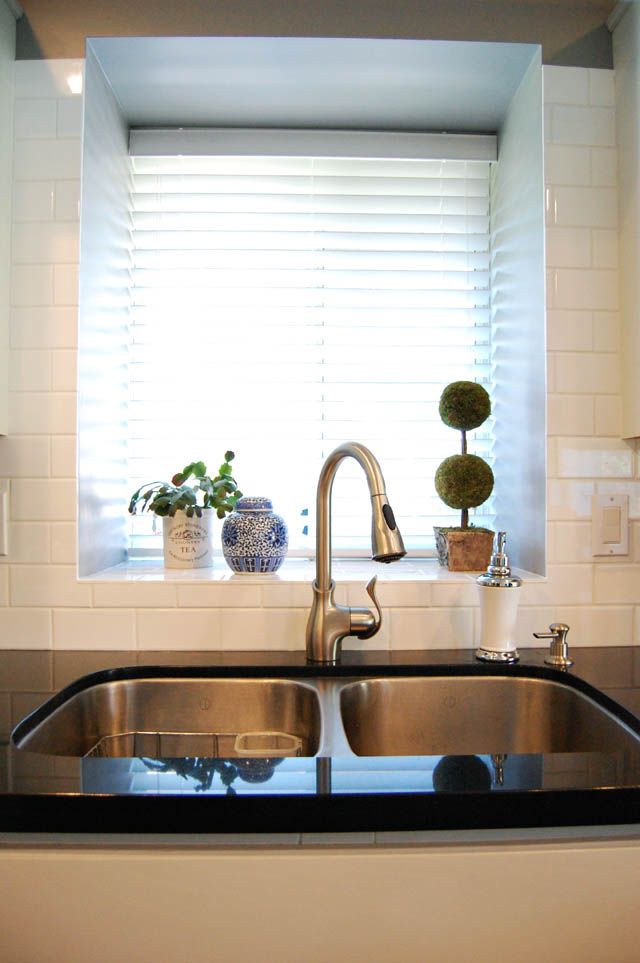
And AFTER:
The eating area:
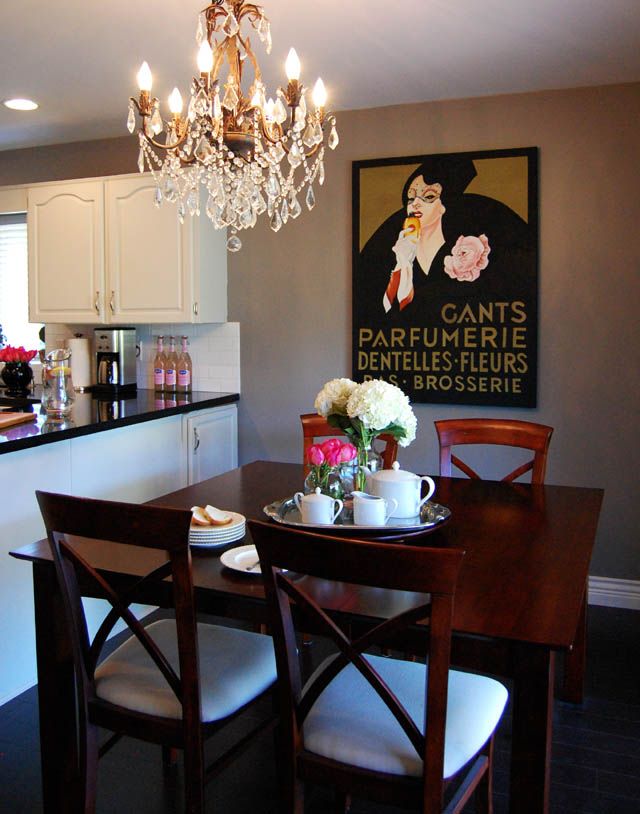
And now:
I love my new goose neck faucet and soap pump! It's the little things :)
In order to stay on a tight budget, it really had to be a labour of love, but I think it was worth it! We did all the cabinet painting ourselves, laid the backsplash tiles, and kept all the appliances that came with the home. The hardware was all from Lee Valley Tools, the faucet and chandelier from Home Depot, and the only 'big ticket items' were the pot lights and stone counters {though opting for granite was substantially lower than marble}. The artwork is my own painting - my twist on an old vintage poster. And all in all I think we got the best bang for our buck!
Before I show you the space all new and improved, I have to show you the befores {it wouldn't be any fun without them, would it?}. Please keep in mind, the photos were taken when the former owner of the home was living here! {We snapped pics on our home-inspection rounds}. Cue the dramatic music ... duh duh duh DUH!
So we were in a limbo phase for quite some time:
But I still saw this in my face every day:
Not pretty. We knew we had to be patient and save up for new granite counter tops {our only real splurge} so we didn't want to put up a new backsplash until then. We took Tommy Smythe's advice {ate noodles for dinner for a month} and were able to get those shiny new counters :) We did the tiling ourselves after installation and chose an inexpensive subway tile:
My first time tiling and it was a blast!! I love those little spacers :) So, again the BEFORE:
And AFTER:
The eating area:
And now:
I love my new goose neck faucet and soap pump! It's the little things :)
In order to stay on a tight budget, it really had to be a labour of love, but I think it was worth it! We did all the cabinet painting ourselves, laid the backsplash tiles, and kept all the appliances that came with the home. The hardware was all from Lee Valley Tools, the faucet and chandelier from Home Depot, and the only 'big ticket items' were the pot lights and stone counters {though opting for granite was substantially lower than marble}. The artwork is my own painting - my twist on an old vintage poster. And all in all I think we got the best bang for our buck!
Monday, August 8, 2011
{before & after: my front door}
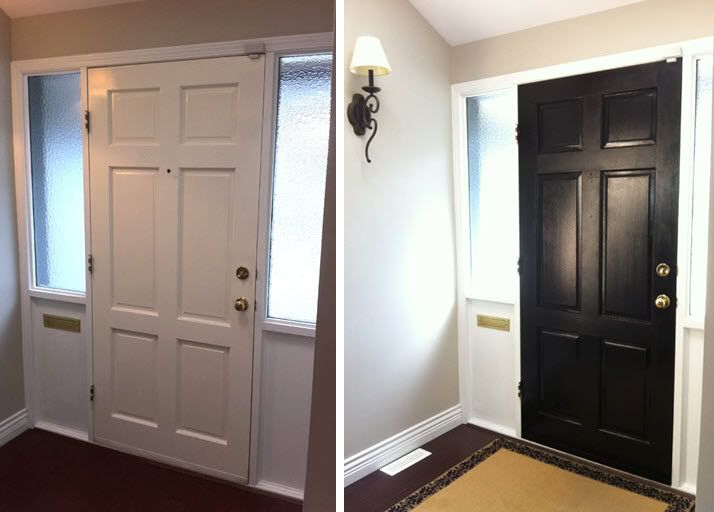
Finally got one of the smaller projects around my home all done! My front door got a nice fresh coat of paint; it was already black on the outside but was left white on the inside when we bought the house. I had wanted to paint the door black inside since day one, but was warned by others that it may make our little entry way dark and dreary. But I finally threw caution to the wind and followed my heart and I am loving the results! A small makeover indeed, but it's funny how the little things can make you smile :)
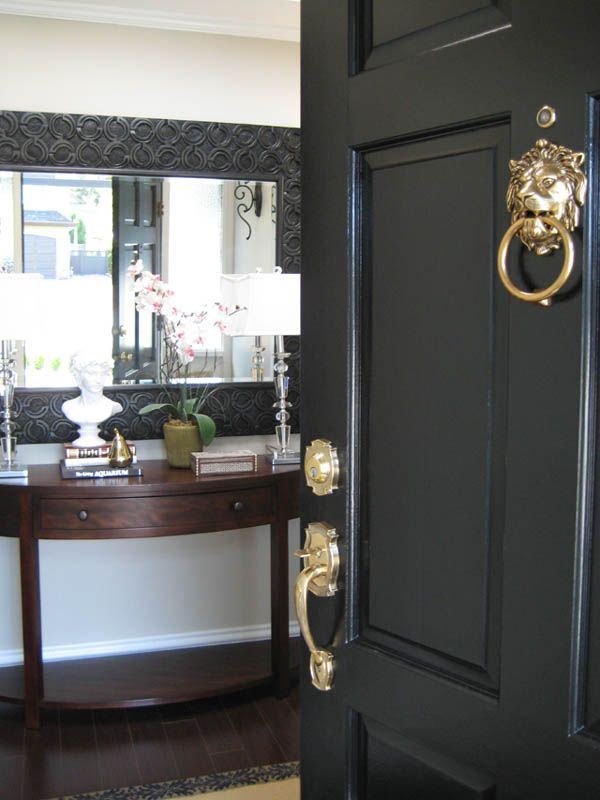
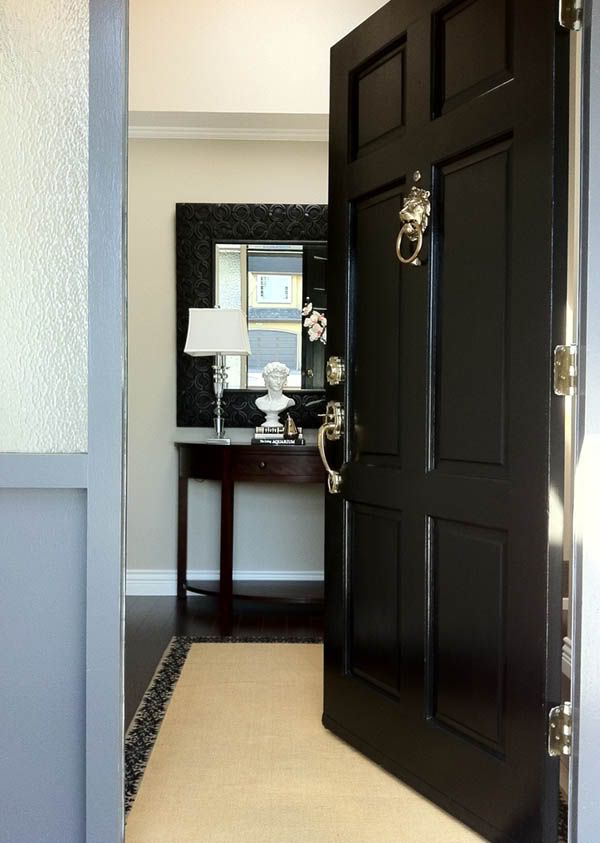
We used an interior/exterior paint on both sides in a black semi-gloss latex {from Dulux}, the shine definitely added a glamorous effect:
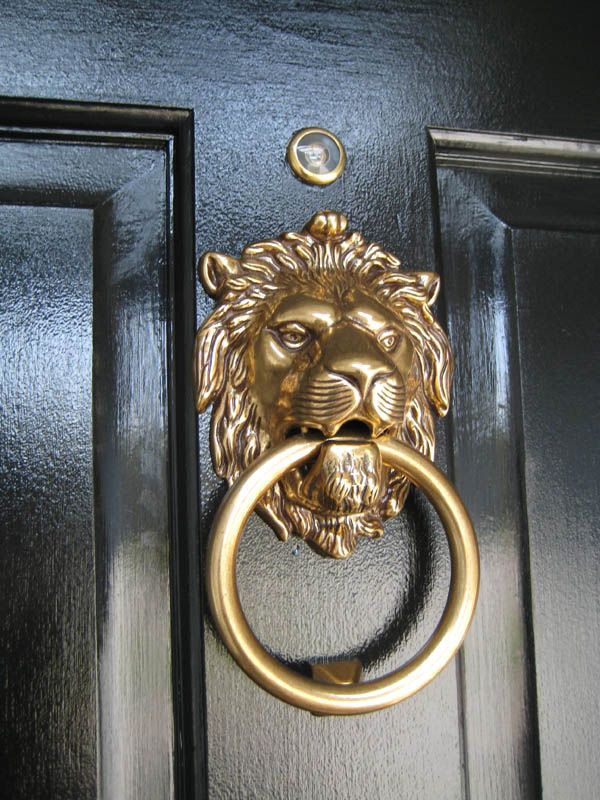
So .. did you spot my new best friend?? The lovely bronze lion head door knocker is my favorite recent addition ... Hollywood glam or what? And for a mere $39.99 from Lee Valley Tools, I am in love!
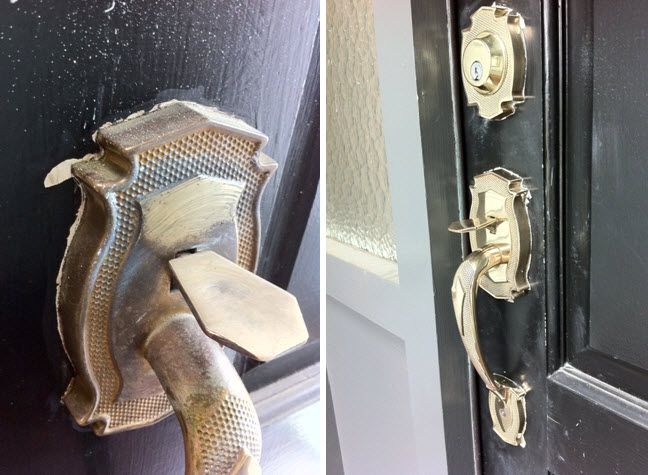
This may look like it was a tiny job, but a fair bit of elbow grease went into it, what with the sanding, and taping, and painting etc etc ... uughh. Another detail we wanted to address was the hardware currently on the door. Though it was all bronze, it was dingy and quite oxidized and we needed it to have a similar finish to the lion head knocker. We contemplated replacing the handle with something shiny and new, but then thought, ugh, an additional cost we didn't anticipate ... total "reno snow-ball effect" as I call it, one thing always leads to another!
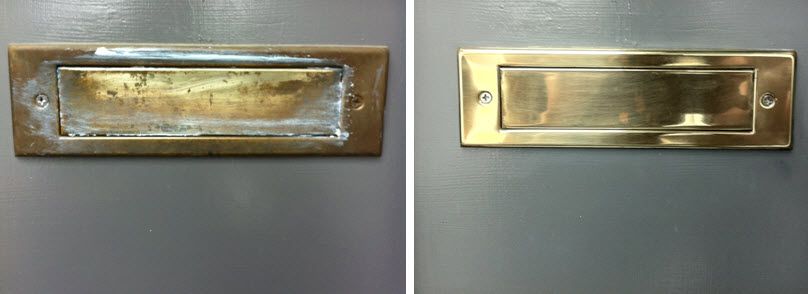
But here's where the real elbow grease came in: instead of going out and buying something new, we brought our bronze hardware to life with simple metal polish!! This stuff works miracles, check it out! You can see on the left we just began to put on the cream polish, and on the right, ALL NEW!
Can you see that around the handle above was left white by the previous owners? And believe it or not I'm pretty sure a Sharpie marker was used to conceal that as much as possible {oh dear}. The polish makes a bit of mess, so it may be wise to take the hardware off the door, but since we were painting it didn't really matter.
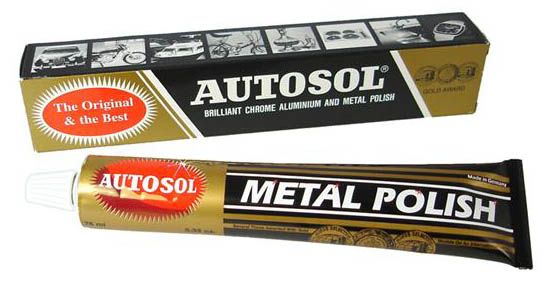
I had never tried this stuff before, but if you've got exposed bronze that has tarnished I would definitely give it a try! {Autosol Metal Polish, approx. $8.00}.
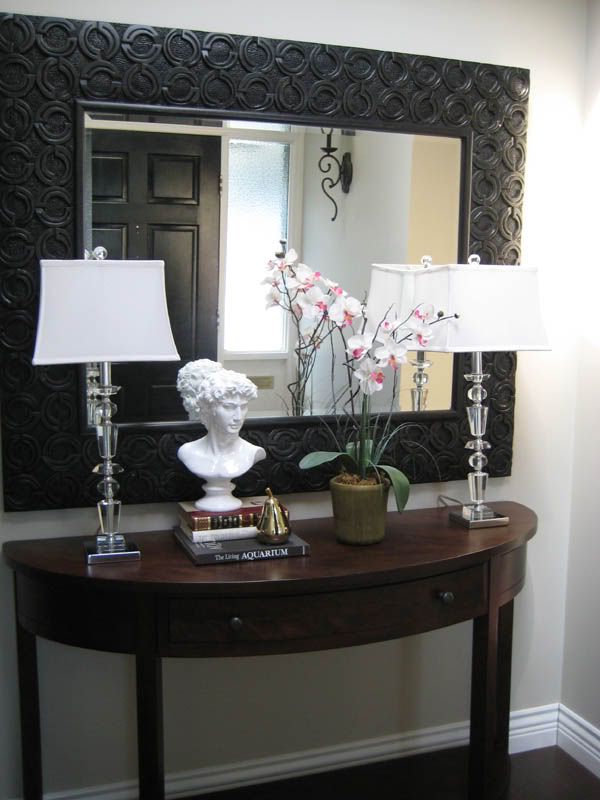
I love the peek of black I get in the mirror across in the entry way, although I have to admit that for a few days the darkness would startle me as it looked like the door had been left open, ha ha!
We used an interior/exterior paint on both sides in a black semi-gloss latex {from Dulux}, the shine definitely added a glamorous effect:
So .. did you spot my new best friend?? The lovely bronze lion head door knocker is my favorite recent addition ... Hollywood glam or what? And for a mere $39.99 from Lee Valley Tools, I am in love!
This may look like it was a tiny job, but a fair bit of elbow grease went into it, what with the sanding, and taping, and painting etc etc ... uughh. Another detail we wanted to address was the hardware currently on the door. Though it was all bronze, it was dingy and quite oxidized and we needed it to have a similar finish to the lion head knocker. We contemplated replacing the handle with something shiny and new, but then thought, ugh, an additional cost we didn't anticipate ... total "reno snow-ball effect" as I call it, one thing always leads to another!
But here's where the real elbow grease came in: instead of going out and buying something new, we brought our bronze hardware to life with simple metal polish!! This stuff works miracles, check it out! You can see on the left we just began to put on the cream polish, and on the right, ALL NEW!
Can you see that around the handle above was left white by the previous owners? And believe it or not I'm pretty sure a Sharpie marker was used to conceal that as much as possible {oh dear}. The polish makes a bit of mess, so it may be wise to take the hardware off the door, but since we were painting it didn't really matter.
I had never tried this stuff before, but if you've got exposed bronze that has tarnished I would definitely give it a try! {Autosol Metal Polish, approx. $8.00}.
So here is a view of the interior of the door before and after getting a coat of fabulous black:
YUM! All in all, I am quite happy with the results :) And the grand total for all supplies was: $40 black paint + $40 for the lion head knocker + $8 for the bronze polish + some sweat = $88 for a brand new glam door! You can't beat that!!
Any summer projects you have been working on lately? I've got more up my sleeve that I'll be sharing with you soon!