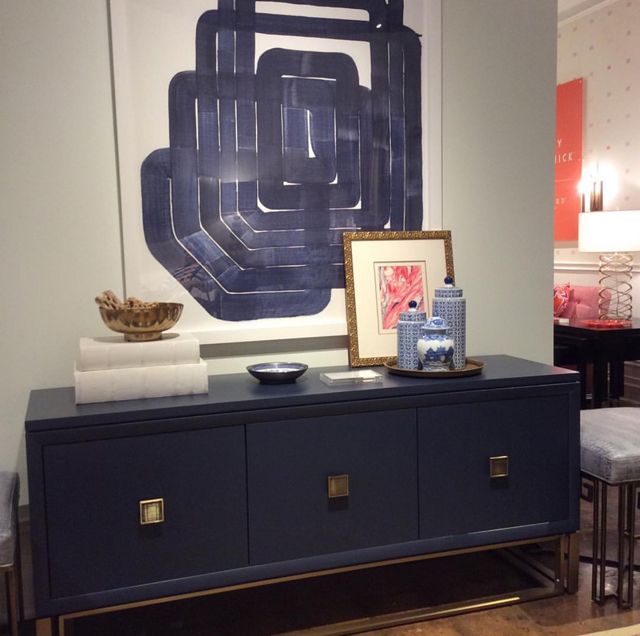
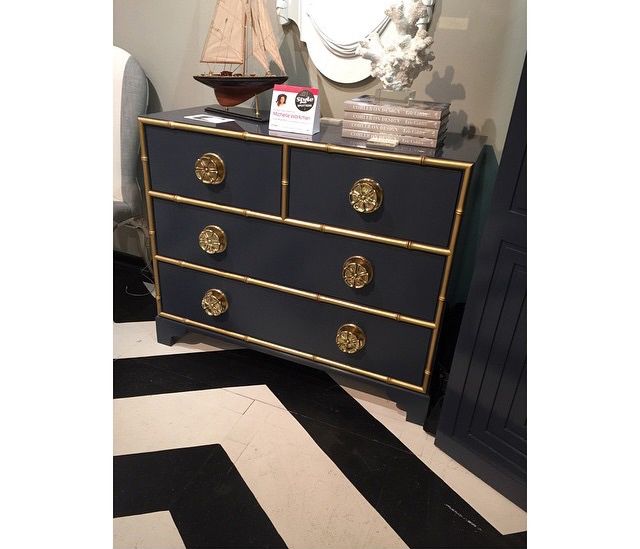
Now this next photo made my jaw hit the floor - this image saved from the always-inspiring Meredith Heron's IG account has been sitting on my phone for probably a couple of years. I knew I'd never be able to afford an amazing bespoke piece like this, but I was dreaming of it for some time:
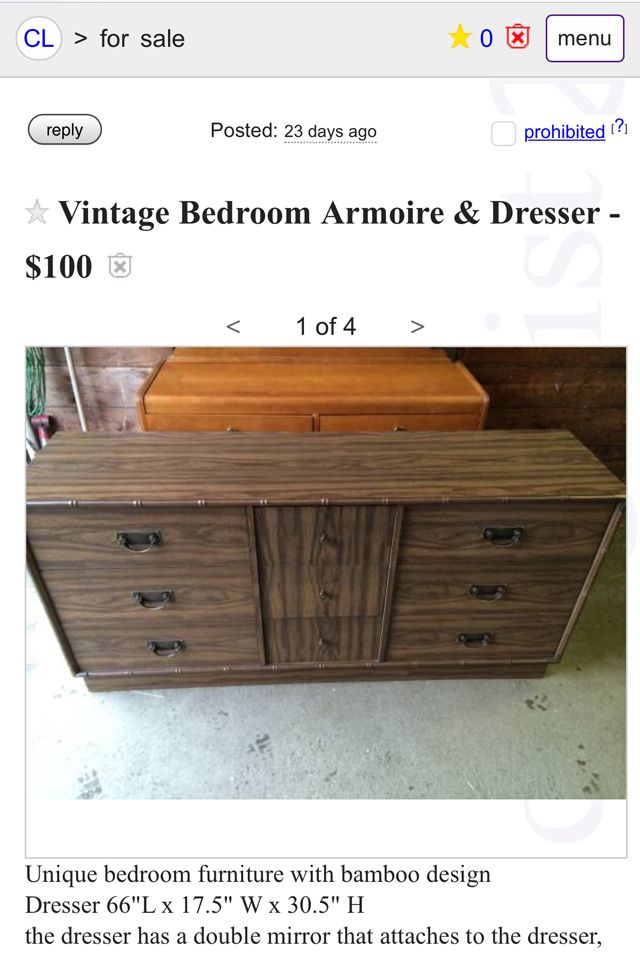
Have mercy! The gold & navy combo and that bamboo trim! I was in love. So I spent countless hours searching for "bamboo" in the furniture category on Craigslist. I eventually found this little veneer-covered diamond in the ruff:
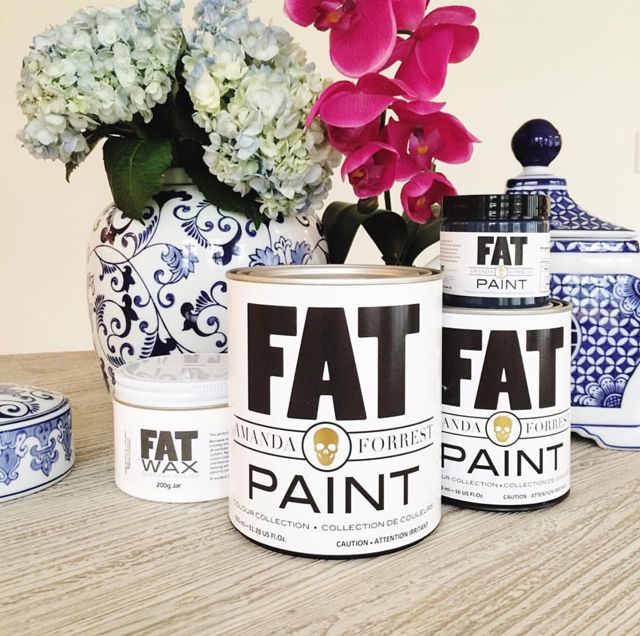
I know what you are thinking! That does not look like your inspiration photo Nancy ... and you are right. But I thought there could be a bit of potential if I could just cover up that sad veneer. I ended up getting the dresser for $85 Canadian dollars (which is like the equivalent of $3 US haha) so I knew I had not much to lose in trying. I turned to the FAT Paint Company's Navy State of Mind from the Amanda Forest Collection after seeing many other great DIYs online.
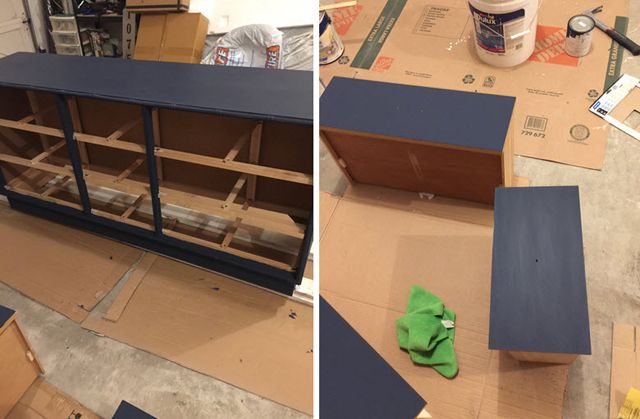
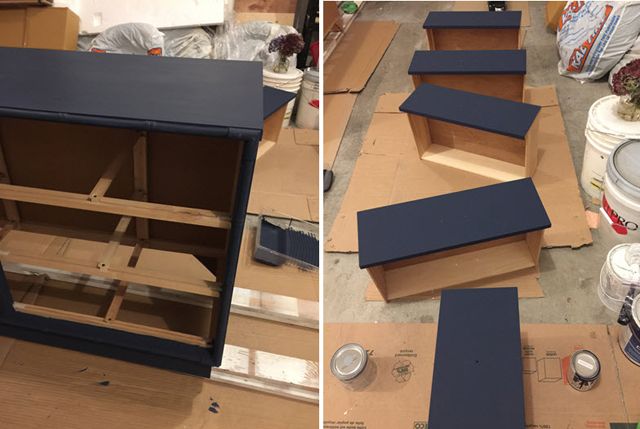
Because I was working with a smooth veneer surface, rather than a natural wood, I had to prime. Normally with FAT Paint you can skip this step, but I needed to ensure MAX adhesion to a slippery surface. What I ended up using was called a gripper primer (many brands make this) that is meant for outstanding adhesion to glossy surfaces. After that initial step I followed the how-to instructions on the FAT Paint site. Tips I'd pass on if you are wanting to try a project like this is 1) don't use a foam roller, the paint works best with a soft fluffy roller meant for smooth surfaces 2) don't sand inside, the dust will go everywhere 3) multiple thin coats is best!
You'll see on the right below that I began sanding the drawer-fronts, and normally with wooden furniture the sanding creates an ultra smooth finish to this chalk-style paint. Because my piece was covered in veneer the sanding finish was not exactly the look I was going for as you could see some visible streaking, so I opted to leave the drawer fronts un-sanded and instead applied a FAT Paint natural wax coat to achieve a finished look.
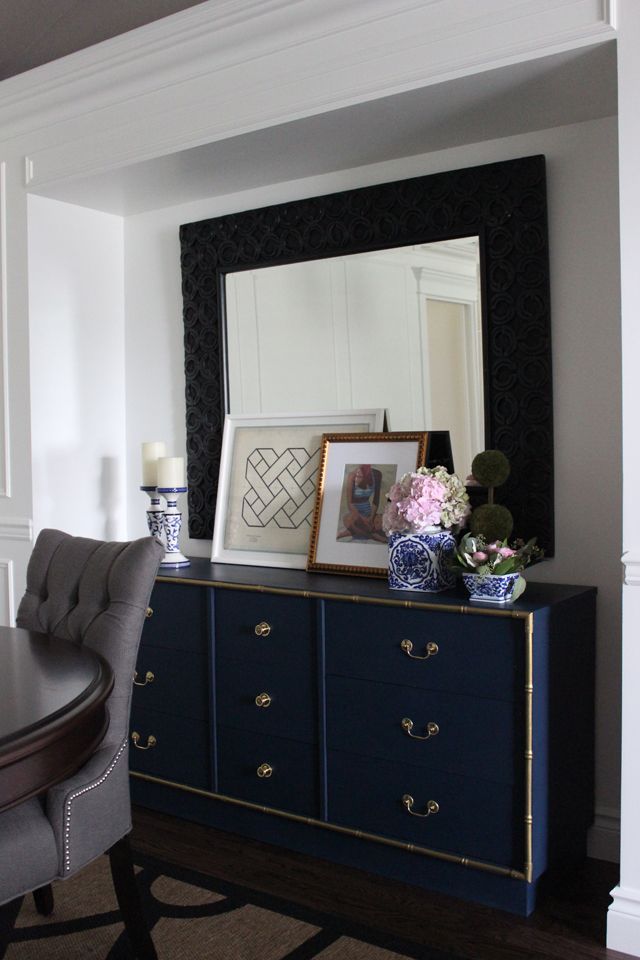
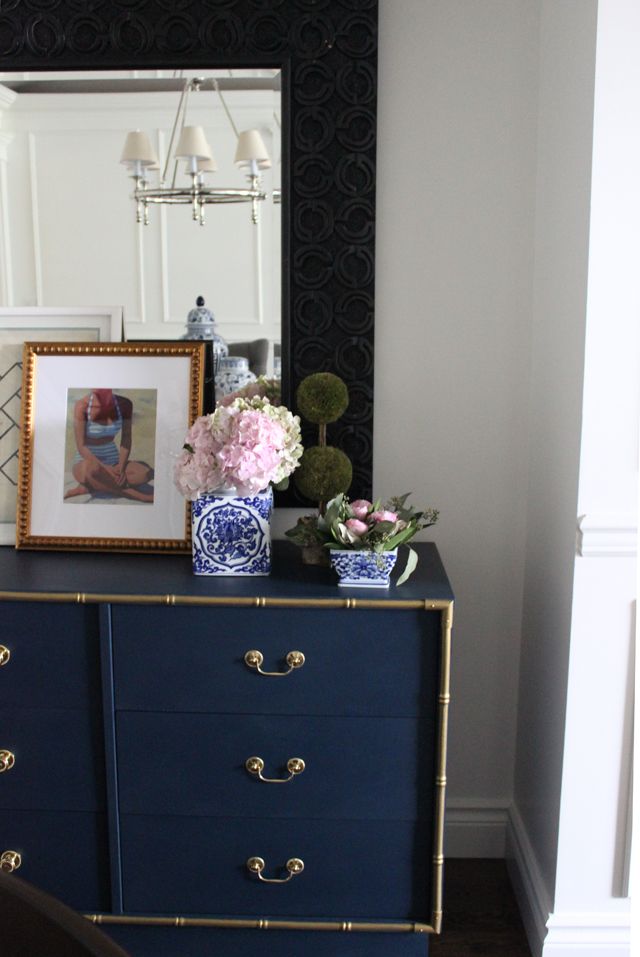
I painstakingly painted on the gold trim of the bamboo by hand (the word PAIN is in paint for a reason). And the results, (with a little glimpse into my dining room - more to come soon!):
Gold hardware via Lee Valley, Beach Sunshine print via Artfully Walls, Jean Baptiste Geometric print via Kerrisdale Design Inc., mirror via Thomasville
That's my little teaser peek for now! And although my dresser was under $100 and will never be quite as stunning as my inspiration photo, I've achieved the look I was going for in the space and I am really enjoying it. I haven't accomplished many DIYs since baby Marcus was born but I feel like the work of painting this dresser was well worth the effort! What do you think, would you add navy to your dining space?




9 comments:
This is stunning!!! Such a great reminder to look past what something currently is to what it could be. Also, I envy your patience!
Nancy, it's BEAUTIFUL!!!!!
I think it turned out great! I'd love it in my dining room.
WOW. You had great vision of the outcome. Looks fabulous in your room.
I like my consoles to be 37" high so dressers won't work for me, but in your room the 30.5" height looks great. New hardware made a big difference. Thanks for letting us see it.
It looks beautiful Nancy!!! Love it!
Nancy, what a beautiful transformation! I want to reupholster my dining room chairs in a navy fabric, but I just chose a gray one about two weeks ago. Boo me. :(
Stunning is right, amazing job. I love navy too and am moving in that direction too. Looking forward to seeing more of your dining room.
Love this transformation Nancy! Good on you for spotting the diamond in the rough. The navy and gold is a classic. Can't wait to see more of this room.
This turned out soo good! Love it in navy!
Post a Comment