


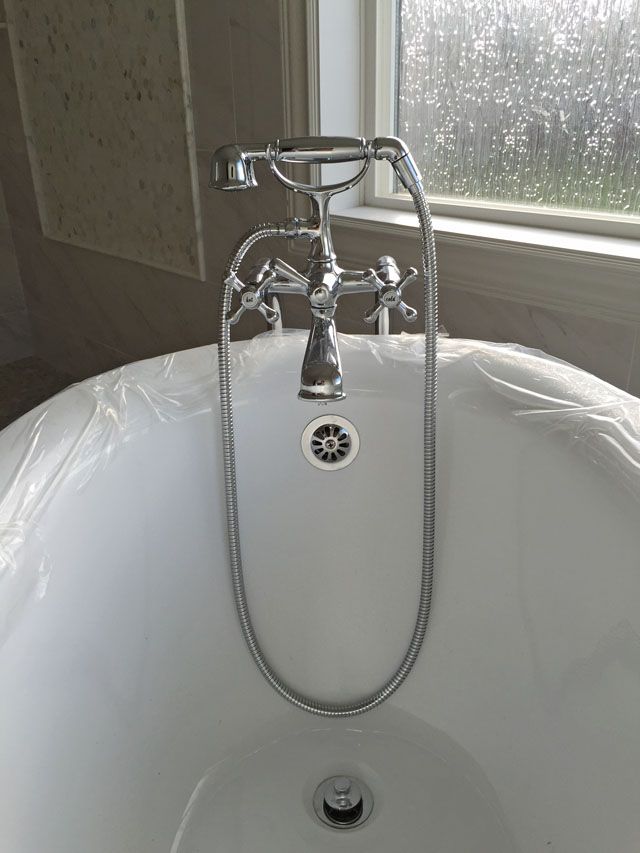
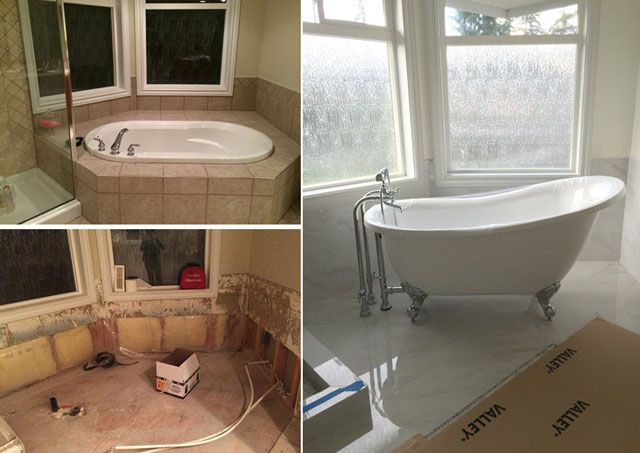
And just like that we are in week 4 ... the claw-foot tub fairies came for a visit and "poof!" we have a pretty bathing corner:
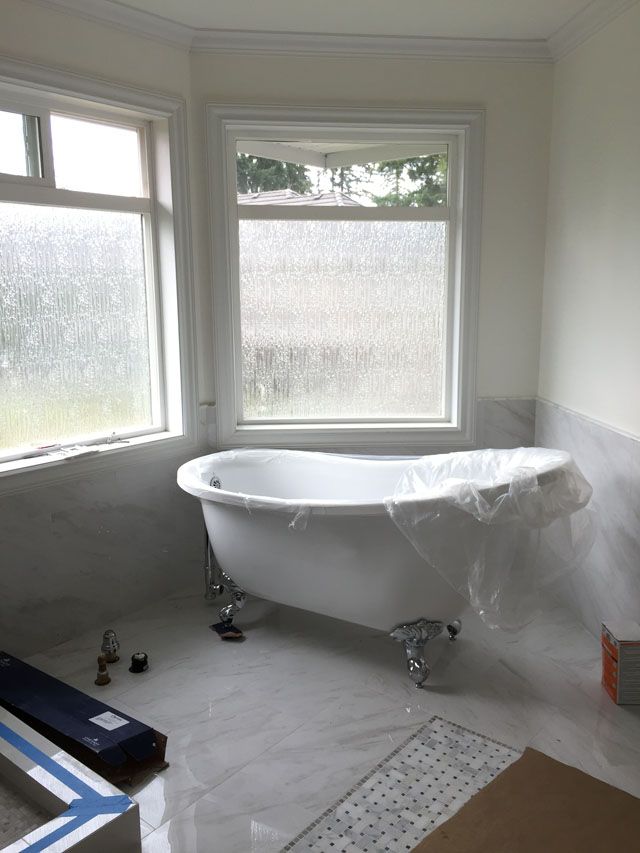
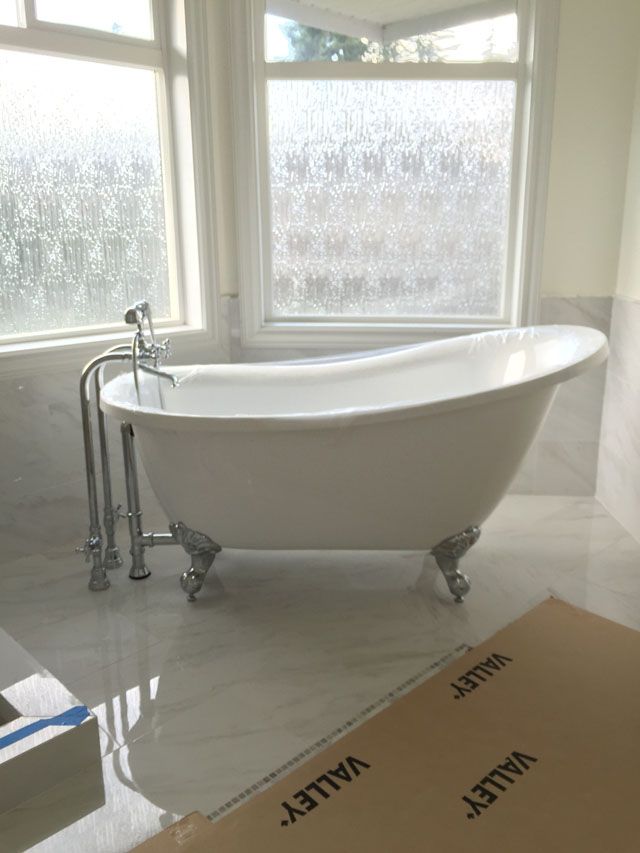
I love all the vintage-inspired finishes, and my most favorite thing is how much more spacious this tub makes everything look compared to the previous oversized built-in!
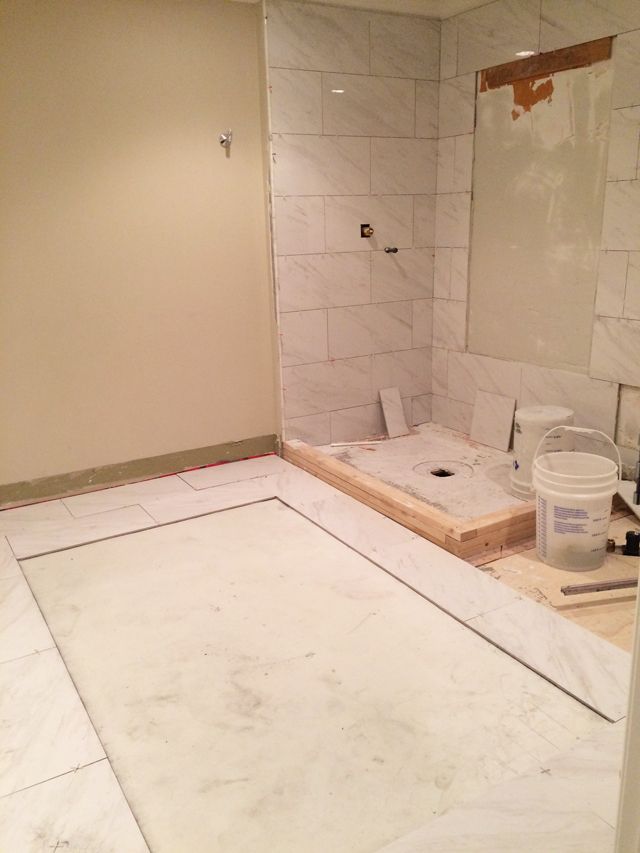
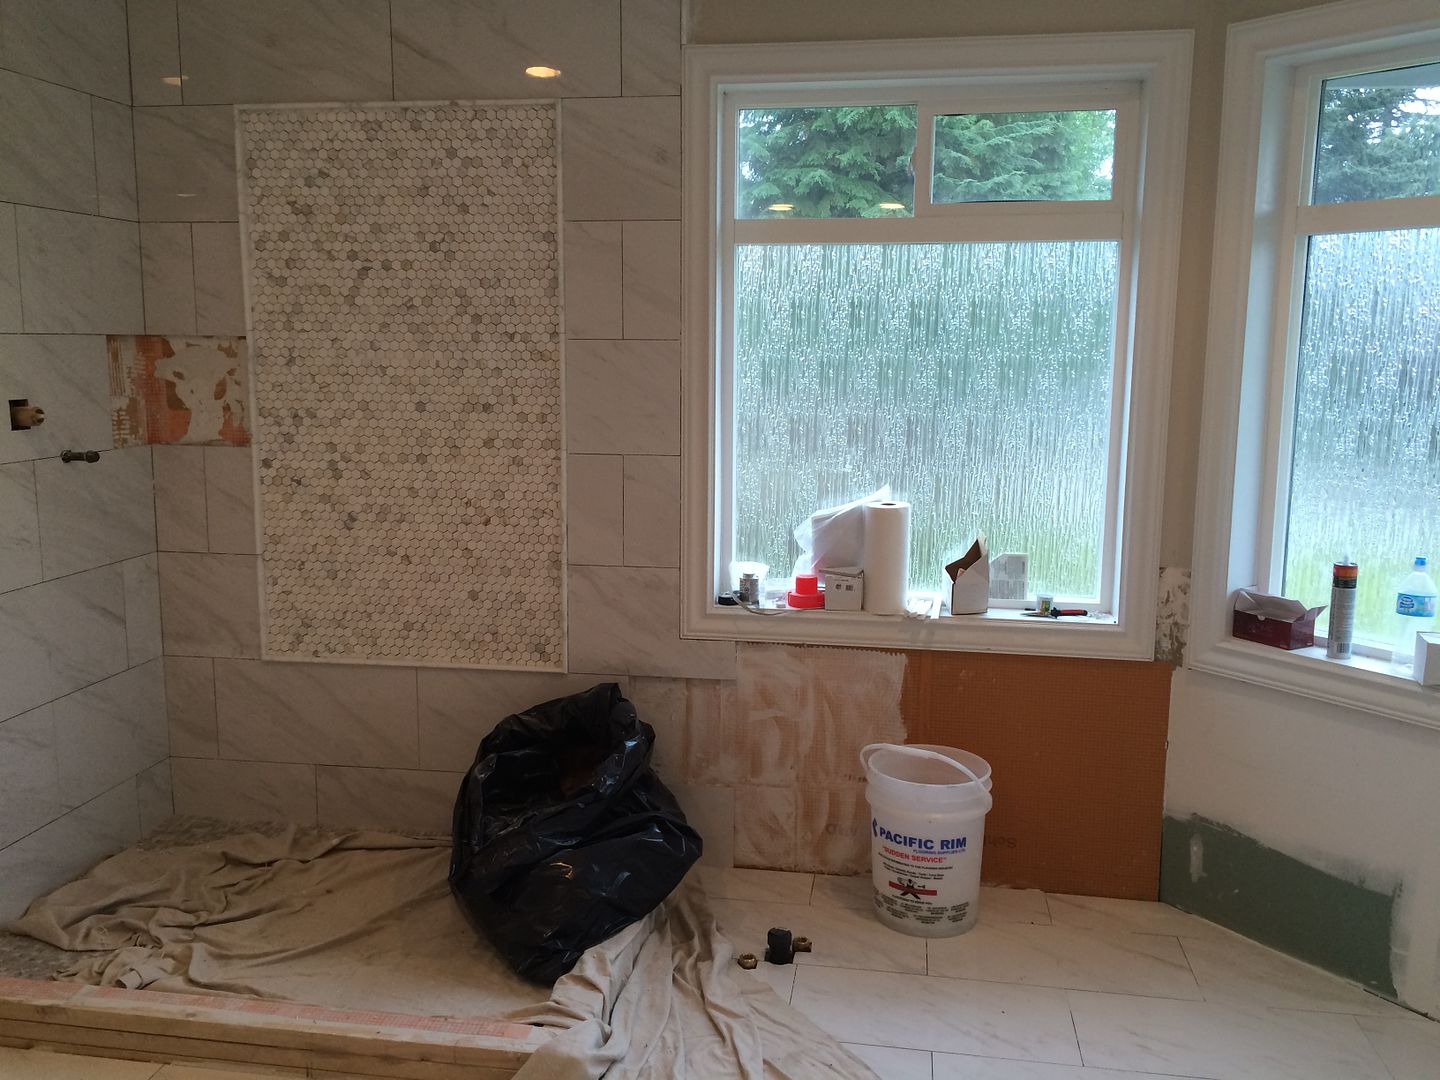
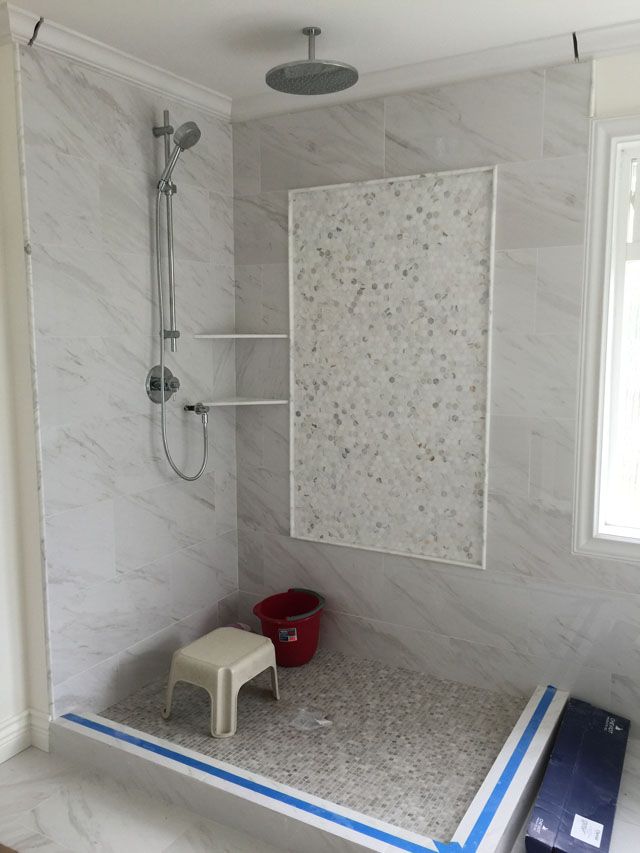
And speaking of pretty fixtures, the plumber has installed the rain head and shower head. Notice the slits cut into the crown molding? This was our solution to 'retro-fitting' the new shower walls that will go to the ceiling. A little bit of caulking and in the end you likely wouldn't have noticed it if I hadn't mentioned!
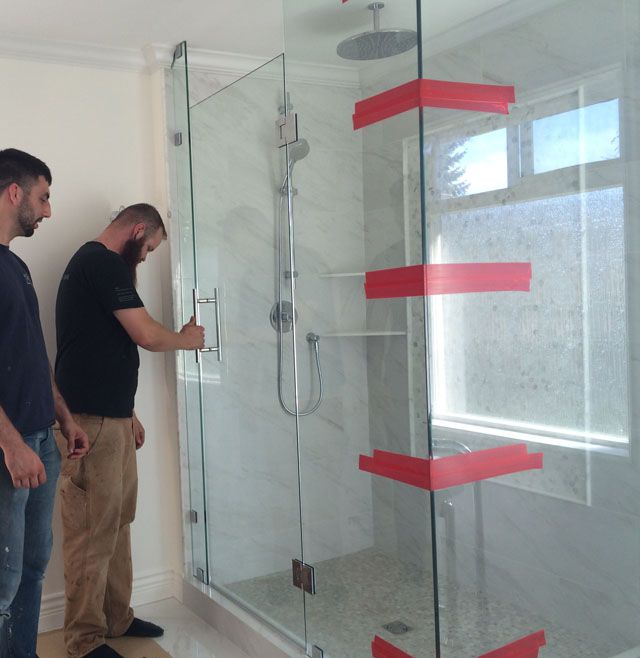
Here's how the new glass walls will work - we made a side panel that the new door will meet with, allowing us to switch from a right-swing out to a left swing-out door for easier towel grabbing!!

And the door & walls installed!! I should mention these had to be measured and re-measured 3x before they arrived in the right fit - I may have been sweating a bit with nervousness on that one. But it was worth the wait, isn't it lovely?
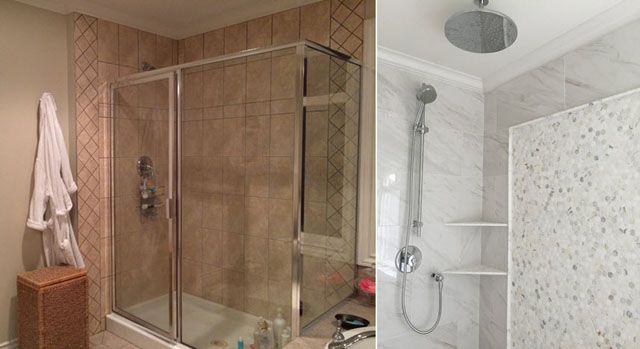
A side-by-side to remind you how far we have come already:
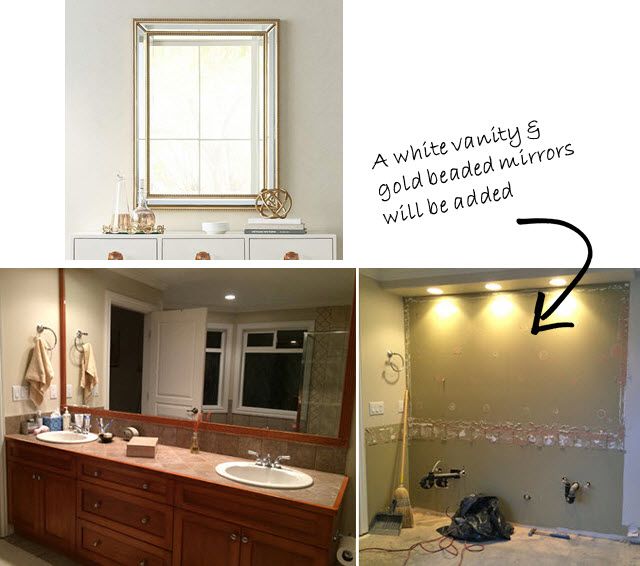
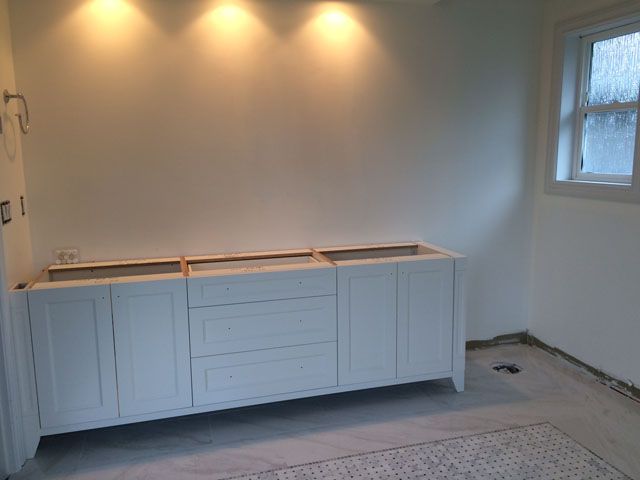
And the last piece to be installed was the vanity, still waiting on the counter top but I think it's looking mighty fine! Can't wait to see these mirrors hung above it.
And soooo many goodies are rolling in for all the pretty styling, follow along on Instagram and I'll be giving you more sneak peeks this week & will post them here in week 5 as well.
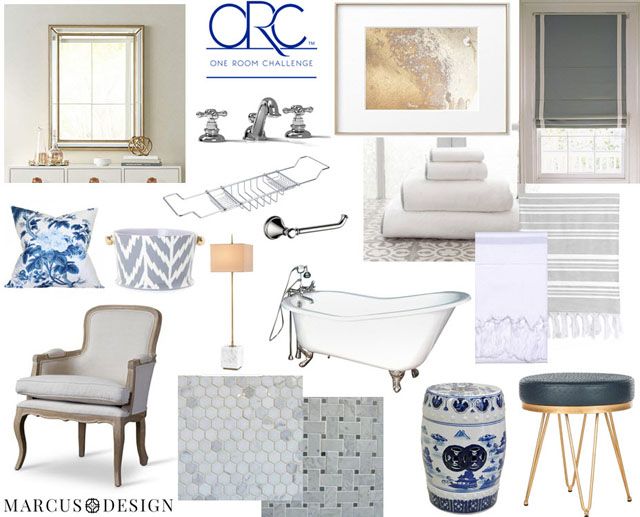
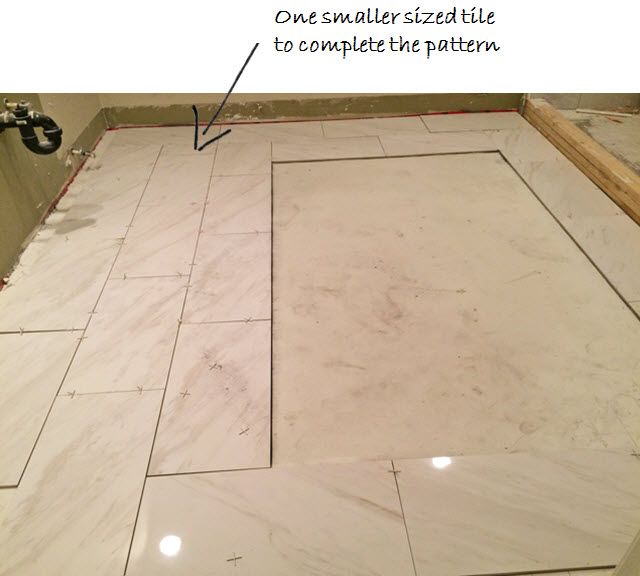
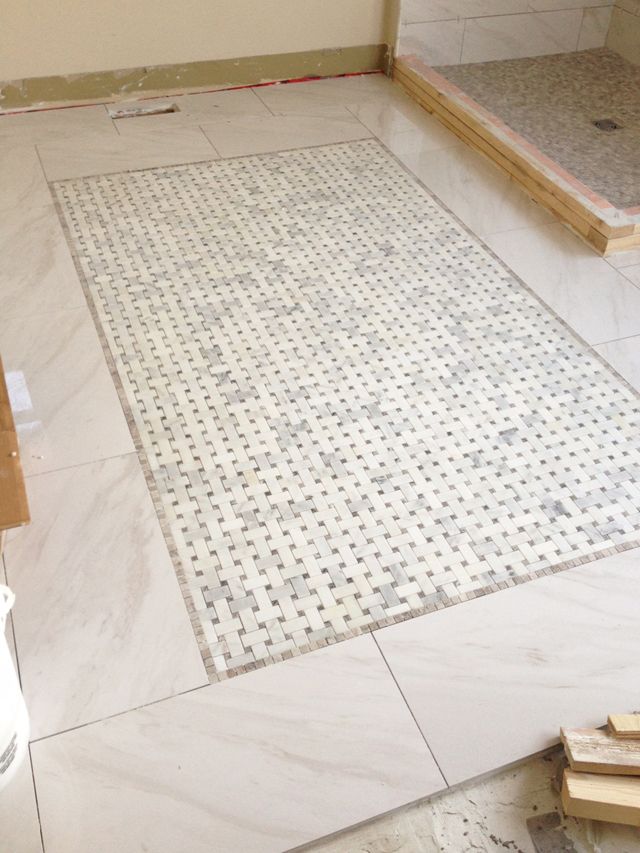
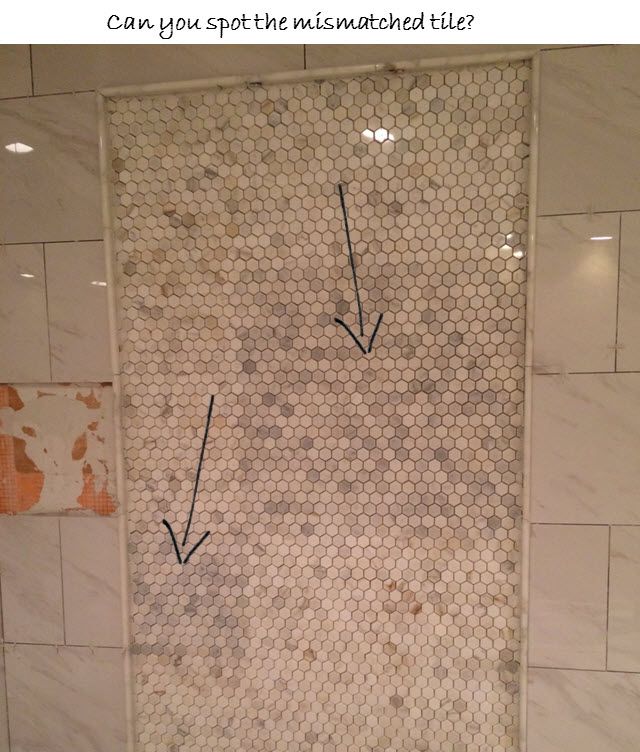
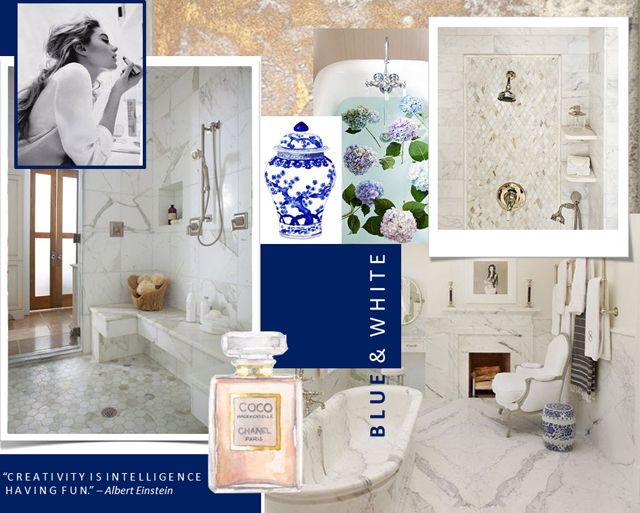
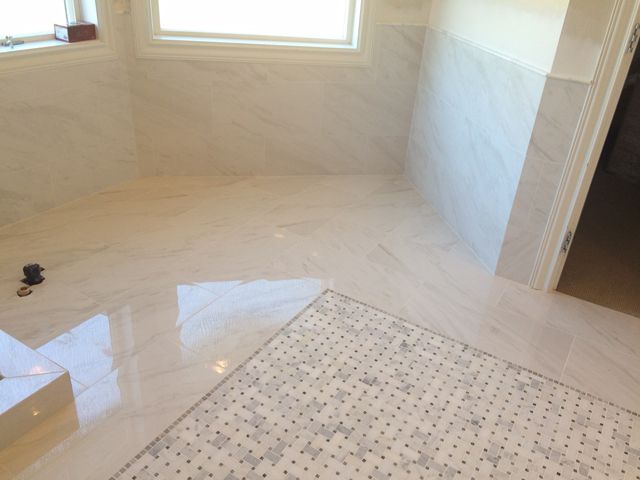
Gold beaded mirrors (LampsPlus) | Vintage style faucets | Aurum Sand No. 3 art print (Minted) | Roman blinds (Tonic Living) | Grey-banded cotton towels (Annie Selke) | Pyne Hollyhock pillow (Arianna Belle) | Orchid Cache pot (Jill Rosenwald) | Brass & marble lamp (Bellacor) | Tub caddy and Tissue holder (ATGSores) | Claw foot tub | Turkish towels and Faux Ostrich navy stool (Joss & Main) | French accent chair and blue & white garden stool (ATGStores) | Marble hexagon & basketweave tile
What's left:
- Quartz counter, vanity hardware, faucets, and backsplash install
- Toilet & tissue paper holder install
- Hang mirrors and artwork
- Hang and steam the Roman shades
- Clean and seal all tile
- Doll it up with all the pretty!
Next week is pedal to the metal. We have to be ALL done several days before the final reveal in week 6 because we have our professional photos being taken by the amazing Tracey Ayton (to say I'm excited about working with her would be a severe understatement - I've been a huge fan of hers for so long!). I'll share sneaks of the final installs in week 5 and then we will be almost camera-ready for the BIG reveal. Fingers crossed!!!
Don't forget, go see all the other amazing designers & what they are up to this week - I'm going to spend all morning doing so myself! And check in tomorrow for the massive inspiration coming from all of the guest participants - if you are on IG just search #oneroomchallenge :)

Waiting on Martha Media Partner House Beautiful | TM by CIH